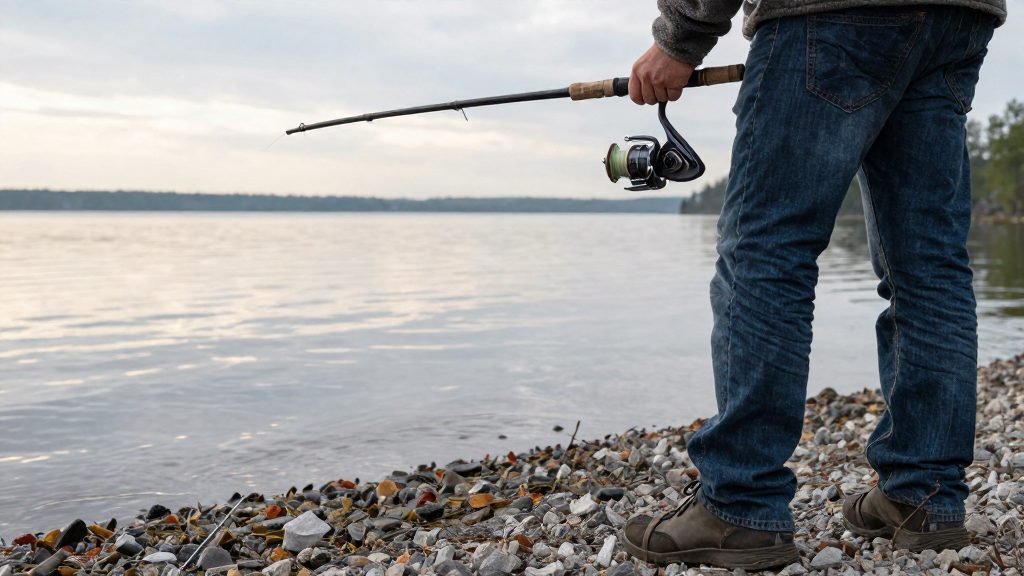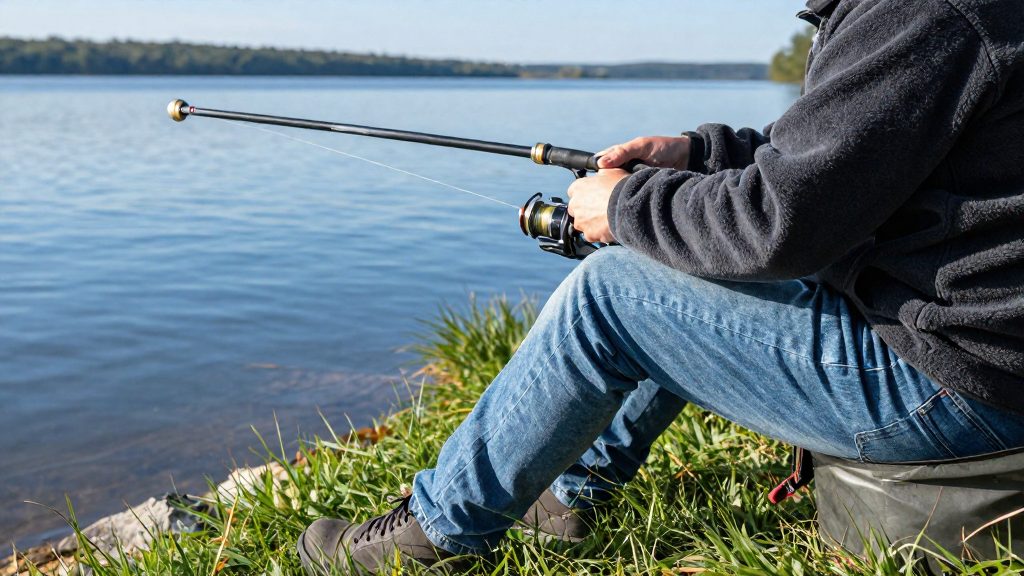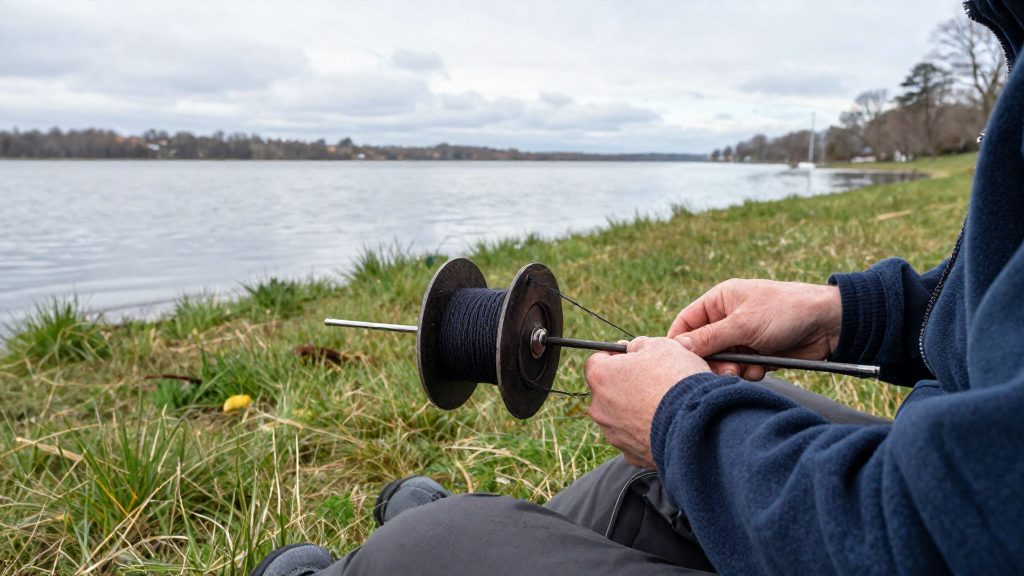
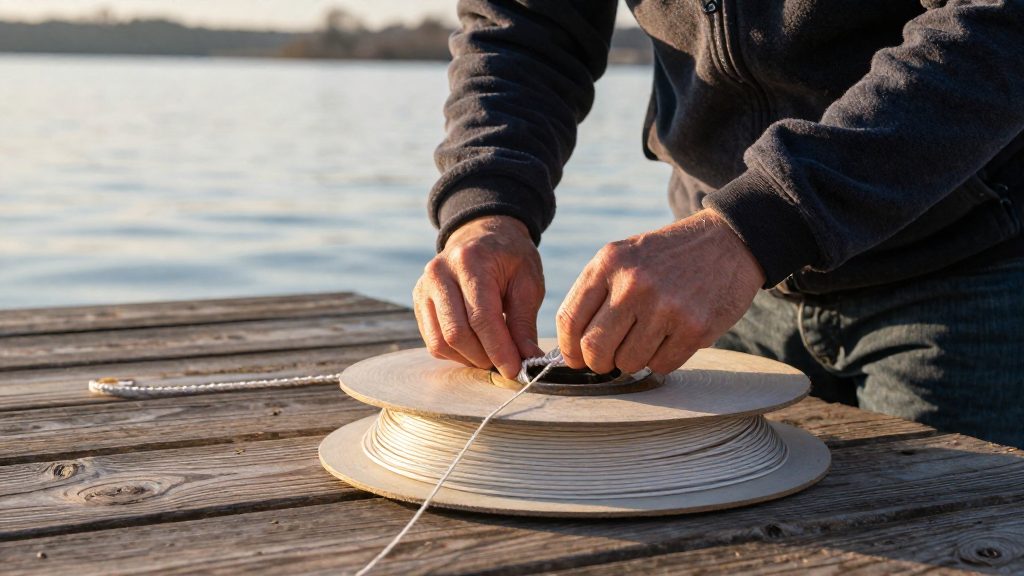
Winding a base of mono backing onto the spool first gives braid a surface that grips the arbor, and the order matters: backing goes on first, then the braid. This is the main reason anglers put backing under braid, and it is the step to get right before the braid touches the spool.
Why use backing under braid?
Why braid slips on a bare spool
Braid is slippery, so on an empty spool it can slip under pressure, especially when a fish pulls hard or the line is loaded during a cast. A bare spool offers braid little to hold onto. The line can turn on the arbor instead of staying locked in place, which lets loose coils creep under load. Salt Strong (2026) identifies this slipping as the reason to tie mono backing to the spool before the braid goes on. Because the problem appears under pressure, a loose wrap that seems fine during spooling can still move once a fish runs.
Mono grip compared with tape
Salt Strong (2026) describes mono backing as the better base for arbor grip, and tape as a weaker alternative. Tape can be used as a makeshift fix, but it is the less reliable choice.
| Backing option | Grip on the arbor (Salt Strong, 2026) |
|---|---|
| Bare spool | Braid can slip under pressure |
| Tape | Weaker fix than mono |
| Mono backing | Virtually never slips |
Mono backing as a cheaper way to fill the reel
Salt Strong (2026) notes that mono backing is cheaper than braid, so filling the reel costs less. This makes mono a cheaper way to fill the inner part of the spool, while the braid covers the outer layers. The saving is most noticeable for anglers who spool several reels or replace line often, because each refill uses the cheaper mono base before the braid.
What you need before you start
Check the reel, rod and tools before any line touches the spool. Most spooling problems come from a worn lip, a drag that binds, or a bail that won’t open fully, and a few minutes of inspection prevents re-spooling later.
Spool lip, drag and bail
| Part | What to check | Why |
|---|---|---|
| Spool lip | Run a finger around the rim. Look for nicks, burrs or cracks. | A rough edge can fray braid as it leaves the spool. |
| Drag | Turn the drag knob. It should move smoothly and stay consistent across its range. | Outdoor Life (2026) advises never reeling against the drag, because this twists the line. |
| Bail | Open and close it by hand. It should open fully and close cleanly. | Needed for the line to reach the spool. |
Keep the spool’s lip in mind when you judge how full it will be. Outdoor Life (2026) suggests leaving about 1/8 inch of the spool empty below the lip so line comes off smoothly on the cast.
Matching braid and mono to the reel
Read the line capacity printed on the spool or in the reel’s manual, and check it against the braid and backing you plan to use. Backing and braid don’t need to share a diameter or a strength. On The Water (2026) pairs 30 lb braid with 12 lb mono backing, so the mono is a separate, lower-rated line that fills the spool. If the label doesn’t state a capacity for the line you intend to use, contact the reel’s manufacturer before loading.
Scissors and a clean, dry workspace
Keep a sharp pair of scissors within reach to trim the line cleanly at the start and end of each step. Work on a clean, dry surface. Grit and moisture can end up on the line as it winds, so wipe the spool and your hands before you begin.
Tying the mono backing to the spool arbor
The first line must be anchored to the spool arbor, the central shaft the line wraps around, with a secure knot before any winding starts.
Threading the line and opening the bail
Start by feeding the line from the spool end through the rod guides, so the path matches the one it will follow during a cast. Then open the bail, the wire arm on the reel, so the line can reach the spool. Leaving the bail closed prevents the line from being wound onto the spool.
Wrapping the first line around the arbor
Wrap the line twice around the arbor. Two wraps give the knot a base to bite into. Keep the wraps neat and side by side, without crossing or gaps, so the first turns sit flat against the arbor.
Tying the uni knot and trimming the tag end
Tie a uni knot around the standing line, the part that runs from the spool to the rod. Make a few wraps of the tag end around the standing line, pass the tag end through the loop you have formed, and pull the knot down slowly and evenly. Moisten the line first so it does not overheat and weaken, then tighten the knot by pulling the standing line and the tag end in opposite directions.
Once the knot is snug on the arbor, trim the tag end close to the knot, leaving no loose tail that could catch on the spool or the wind.
Mono backing: how much do you need?
Salt Strong (2026) recommends spooling mono backing first: 50 to 100 yards of mono, joined to the braid with a line-to-line knot, followed by about 100 to 150 yards of braid to fill the rest of the spool. Those figures come from an inshore method, so treat them as a starting point and check how much line your reel’s spool holds in the manufacturer’s specifications before you buy or cut line.
Working out the sequence
On The Water (2026) describes the order in practical steps:
- Run the mono through the rod guides.
- Wind the mono onto the spool under finger-and-thumb tension until the spool is about half full.
- Join the braid to the mono with the knot suited to the line strength.
- Spool the braid, letting the line feed off the bottom of the spool.
The half-full mark gives you a stopping point before the join, so you are not guessing how much mono to add.
Choosing the join knot
The knot depends on the line strength you are spooling:
| Line strength | Join knot |
|---|---|
| 10 lb and under | Double uni |
| Above 10 lb | FG knot |
Salt Strong (2026) uses these two knots for its inshore setups. On The Water (2026) joins 30 lb braid to 12 lb mono with a double uni knot. That is a different source from the Salt Strong rule above, so choose the knot you can tie reliably for your lines and test it first. Check the knot against the braid’s rated strength and the instructions that come with your line, and tie a test knot on a spare piece of line before you commit to the full spool.
How to load braid with the right tension
Winding tension is the main control you have when spooling braid onto a spinning reel. The goal is a line that lies flat and tight on the spool, without packing so much line on that the spool is overloaded.
The tension you apply during the first stage sets up the rest of the fill.
Outdoor Life (2026) recommends applying light tension as the line goes on, so each coil settles against the one before it. On The Water (2026) describes a slightly firmer method for the backing: pinch the mono between finger and thumb as you reel, so it winds on under finger-and-thumb tension without spilling loose coils.
Stop the mono at half spool if you follow the On The Water method. Salt Strong uses a fixed 50-100 yards instead. On The Water’s example fills the spool to about half before the braid is joined, which leaves room for the braid without overloading the spool.
| Stage | Line | Tension |
|---|---|---|
| Backing | Mono | Finger-and-thumb pinch |
| Stop point | Mono | About half spool full |
| Filling | Braid over mono | Light tension so it lies flat and tight |
How full should the spool be?
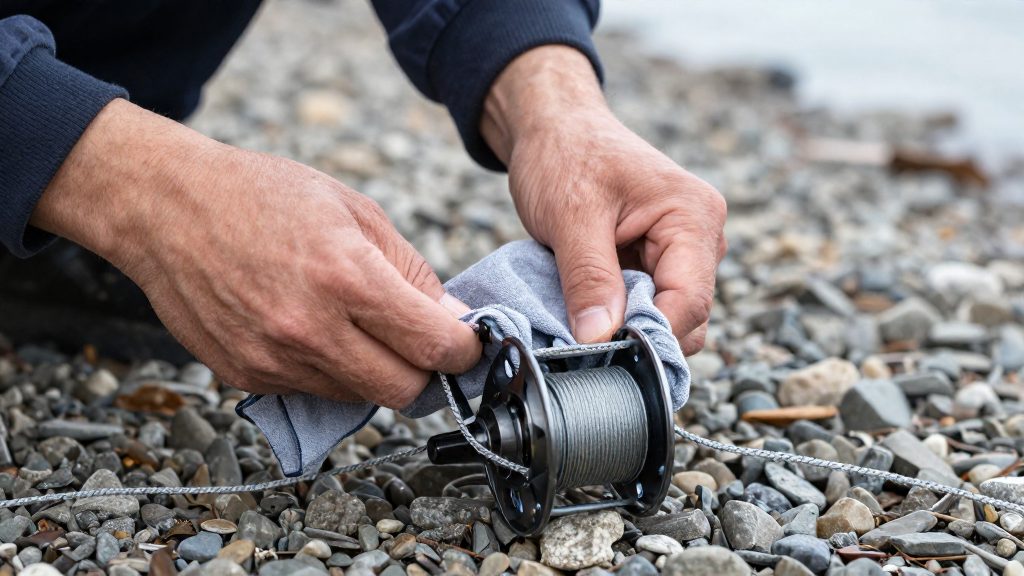
Filling a spinning reel with braid means balancing two things: enough line to cast well, and a spool that is not overfilled. The braid should stop short of the spool edge so it can leave the spool cleanly on the cast. Outdoor Life (2026) recommends leaving about 1/8 inch (roughly 3 mm) of the spool empty below the lip.
The joint between braid and backing is the second concern. Salt Strong (2026) warns that a knot can hurt casting distance once the gap between the braid and the spool edge grows. Keeping the braid close to the lip, without going over it, keeps that gap small.
The amount of braid also depends on what sits underneath it. Salt Strong (2026) says a 20 lb mono uni knot can cause casting problems unless there are 100+ yards of braid over it.
| Setup point | Guidance | Source |
|---|---|---|
| Empty space below the lip | About 1/8 inch | Outdoor Life (2026) |
| Braid over a 20 lb mono uni | 100+ yards | Salt Strong (2026) |
To check the fill, wind in short bursts and look at the braid against the lip after each one. Stop once the braid sits about 1/8 inch below the edge. If the braid reaches the lip, the spool is overfilled. Remove some line rather than forcing the level down by hand.
Check the knot position too. If the joint lies near the spool edge after you have wound the target amount, add more braid or adjust the backing so the knot is covered before you cast.
Should you add a mono or fluoro leader?
Add a leader when your braid is likely to touch something that can cut or fray it, such as rocks or weed edges. For pike, use a steel or wire leader, because their teeth can cut mono and fluorocarbon. In clean, open water with no structure, you can often fish braid straight to the lure. The leader takes the wear, so you replace a short, cheap section instead of the whole spool.
Judging abrasion risk
Decide before you tie anything by looking at the water and the fish you target. Rocky bottoms, weed beds and toothy predators are the usual reasons to add a leader. Check the leader after every snag, bite or drag over structure. Nicks, flat spots or fraying mean you should cut out the damaged section and retie. Braid can look fine while it is weakened, so inspect the leader and the braid just above the knot.
Fluorocarbon leader in clear water
In clear water, fish can see line more easily. Anglers therefore often choose a fluorocarbon leader because it is the less visible option next to braid. Keep the leader only as long as the threat requires, and use a clear, lower-visibility material near the lure if you fish in shallow, bright conditions.
Leader-to-braid knot choice
Choose a knot you can tie the same way every time and check it before each session. Tighten it fully, pull on both lines, and look for slippage or a weak point at the join. Follow the manufacturer’s or knot guide’s instructions for the leader material you are using, and test the knot with a gentle pull before you cast hard.
| Situation | Leader approach | Reason |
|---|---|---|
| Rocks, weed edges, sharp teeth | Add a leader | Absorbs contact so the braid is not abraded |
| Clear water, wary fish | Fluorocarbon leader | Lower visibility near the lure |
| Open water, no structure | Often no leader | Little for the braid to rub against |
Avoiding line twist and wind knots
Twist and wind knots usually come from how the line is laid onto the spool, not from the braid itself. Keeping the winding direction and the feed point consistent prevents most of these problems. Outdoor Life (2026) gives the core rule: wind so the line comes off the spool in the same direction it goes onto the reel.
Matching the winding direction to the line’s exit
Before you start, look at how the line runs from the spool to the first guide. The line should leave the spool in the same rotational direction it went on, so it does not have to turn as it comes off. If the line turns, each cast adds a little twist that can build into loops.
Outdoor Life (2026) names the warning sign: pigtails or curlicues visible at the guide mean the winding direction is wrong. The fix is to flip the spool and reel again.
Feeding braid from the bottom of the spool
On The Water (2026) spools braid with the line feeding off the bottom of the spool. On The Water (2026) spools braid with the line feeding off the bottom of the supply spool.
Spotting and undoing loops
Check the line at the guide every few turns during spooling, not only at the end. A pigtail or curlicue caught early is much easier to correct than a set of loops found after the spool is full. If you see one, stop, flip the spool as described above, and continue. Reeling with the spool wound the wrong way leaves a visible sign at the guide, so this check is your early warning.
Frequently asked questions
Why do I need mono backing before braid?
Braid can slip on an empty spool, and mono backing gives it a base that holds on the arbor, so loose coils do not creep under load. Salt Strong (2026) rates mono as virtually non-slip and tape as a weaker fix for this job.
How much braid should go on top of the backing?
For an inshore setup, Salt Strong (2026) suggests 50 to 100 yards of mono followed by about 100 to 150 yards of braid. Its warning is that a knot tied with 20 lb mono can cause casting problems unless more than 100 yards of braid sit over it. Treat these figures as a starting point and check how much line your reel’s spool holds.
Which knot joins braid to the backing?
Salt Strong (2026) uses a double uni knot for lines of 10 lb and under and an FG knot for heavier lines. On The Water (2026) joins 30 lb braid to 12 lb mono with a double uni, so line strength shapes the choice. Salt Strong also notes that the knot can cost casting distance once the gap between the braid and the spool edge grows, so check how full the spool is.