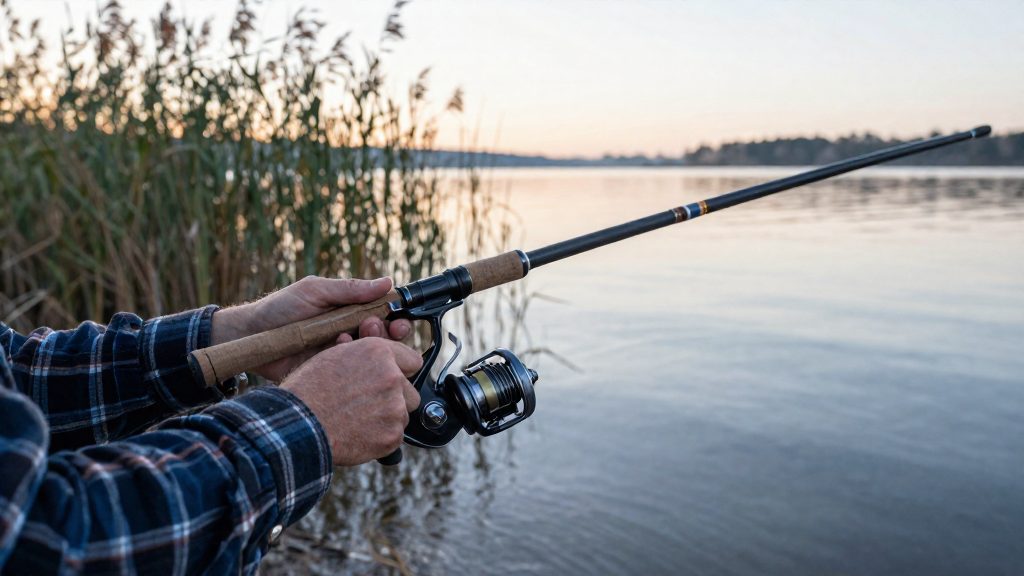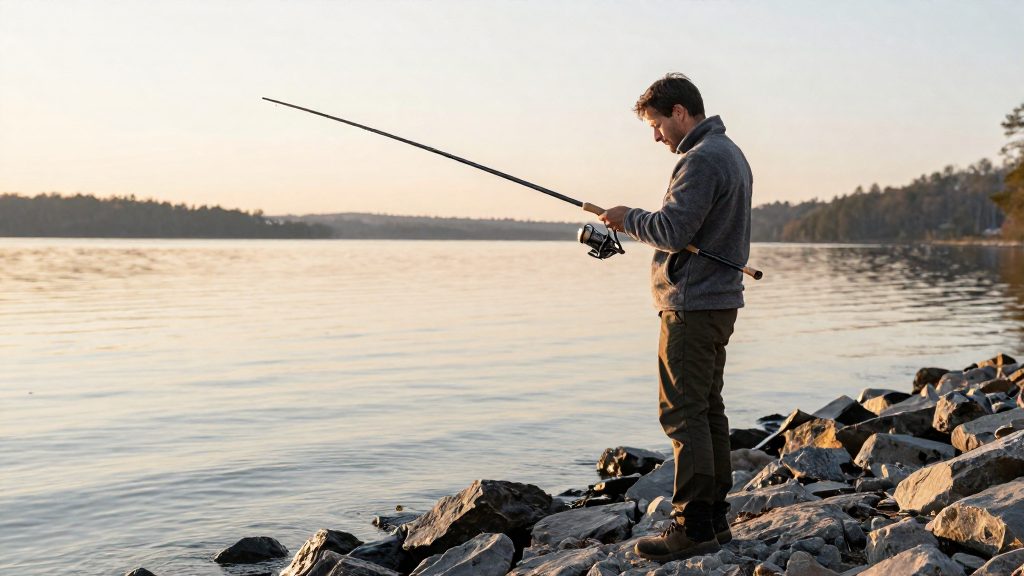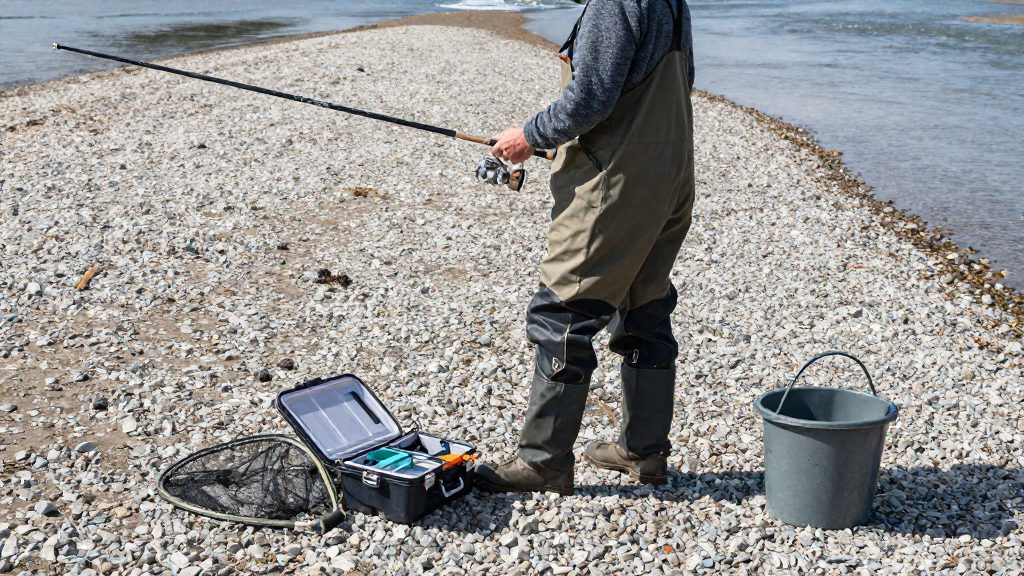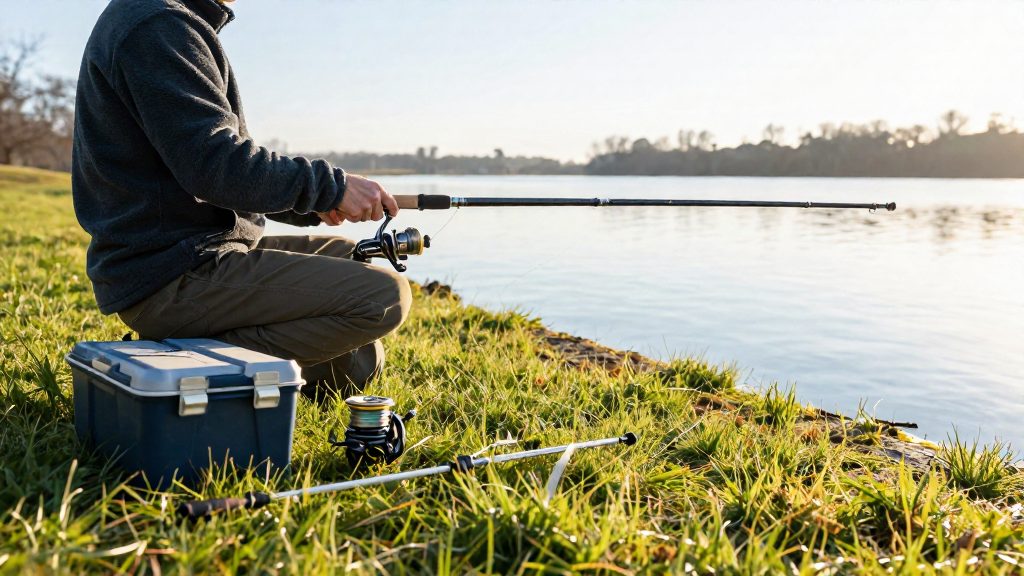
For a beginner pond trip from the bank, the core kit is a rod and reel, line, a basic bobber rig, a tackle box, a landing net, line clippers and a bait container. According to North Dakota Game and Fish Department (2026), the basic beginner shore rig is a fixed bobber, split shot, octopus hook and worm, so those items make up the minimum terminal tackle. The accessories are light, and they should travel with you on every trip.
What gear do you need for pond fishing from shore?
The beginner kit at a glance
| Item | Role on a pond bank |
|---|---|
| Rod and reel | Casts the rig and controls the fish once it bites |
| Fixed bobber | Holds the bait at a set depth and shows when a fish takes it |
| Split shot | Adds weight so the bait sinks to the depth you set |
| Octopus hook | Holds the worm on the rig |
| Tackle box | Stores hooks, shot and spare bobbers in separate compartments |
| Landing net | Lifts a hooked fish out of the water |
| Line clippers | Trims tag ends after tying knots |
| Bait container | Keeps live bait separate from your tackle |
Tackle box layout
A tackle box works best when each item type has its own compartment. Keep hooks sorted by size so you can find the right one without opening every slot. Store split shot and spare bobbers in separate trays, and keep a small piece of foam or cloth in one compartment to stop hooks from sliding into other sections. Small accessories such as a pair of pliers or a spare leader are easiest to find when they sit in the top tray.
Landing net, line clippers and bait container basics
Use the landing net to lift the fish once it is close to the bank, rather than lifting it by the line.
Clip line tags as soon as you finish a knot, and keep the clippers on a short cord or in a pocket you can reach without looking. Clippers on a cord are less likely to end up in the water.
Use a separate container for each bait type, with a lid that closes fully, so live bait stays contained and does not mix with your tackle.
Keeping gear dry and stored between trips
Rinse rods, reels and line guides with clean water after a session at the pond, then let them dry before packing them away. Wipe down the tackle box and empty any bait residue before closing it. Store the kit somewhere dry and out of direct sun, and check hooks and shot for rust before each trip.
Choosing a rod and reel
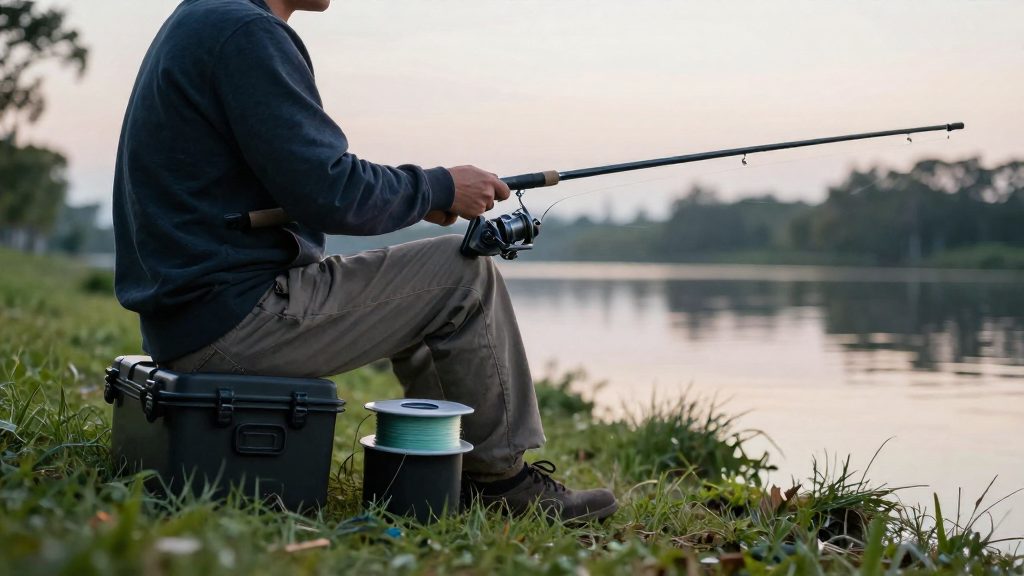
For shore fishing at a local pond or lake, the standard starting point is a medium-power spinning rod of 6 to 7 feet. North Dakota Game and Fish Department (2026) recommends a 6-7 foot, medium-action spinning rod for this type of fishing. Zebco (2026) names a medium-power spinning rod as its top all-around pond pick, noting that it casts light lures and has enough backbone for bass, catfish and other common pond fish. A single rod in this range can therefore cover several species without specialist equipment.
Spincast or spinning combo?
Zebco (2026) separates the two common combo types by ease of use and control:
| Aspect | Spincast combo | Spinning combo |
|---|---|---|
| Beginner ease | Named as the easier option to start with | Not named as the easier option |
| Control | Less control, per the comparison | More control |
Spincast combos suit a first session where simplicity matters most. Spinning combos reward the extra effort of learning, because you can place a lure or bait more precisely, which matters when you start working along the bank.
Reel size and maximum drag
Pair the rod with a spinning reel in the size 20-40 range. North Dakota Game and Fish Department (2026) also specifies a maximum drag of 6-12 lb. Drag sets how much force the reel releases before the line gives way, so staying within this range protects light tackle against sudden strong pulls.
| Component | Recommended range | Source |
|---|---|---|
| Rod length | 6-7 feet | North Dakota Game and Fish Department (2026) |
| Rod action | Medium | North Dakota Game and Fish Department (2026) |
| Reel size | 20-40 | North Dakota Game and Fish Department (2026) |
| Maximum drag | 6-12 lb | North Dakota Game and Fish Department (2026) |
Which fishing line is best for ponds?
For pond fishing, monofilament is the usual starting point for beginners. FishingBooker (2026) recommends 4-8 lb monofilament for beginners, and Zebco’s 8 lb recommendation sits at the top of that range. Monofilament is a single-strand nylon line that is easy to handle, inexpensive, and forgiving when you are learning to cast. The pound test is the breaking strength printed on the spool, so check that figure on the packaging before you buy.
FishingBooker (2026) gives four reasons to choose monofilament at this weight:
- Abrasion resistance: the line tolerates rubbing against weeds, stones and the pond bank better than many thinner lines.
- Easy tying: it is simple to knot, which matters when you are learning.
- Good knot holding: knots stay secure under load.
- Shock absorption: the line stretches slightly, which helps absorb a fish’s sudden runs and reduces the chance of a snapped line on a short strike.
The lower end of the range, around 4-6 lb, gives a lighter feel and better casting distance with small lures. The upper end offers more margin, but it reduces the lure’s action and the line’s sensitivity.
Choosing 8-10 lb line for snags and larger pond fish
Heavier line gives you more room for error when the pond has weed beds, submerged branches or other cover. Pulling a snagged lure free is much more likely to succeed with a stronger line, at the cost of some sensitivity and casting range.
Two sources point to the heavier end of the scale:
| Source | Recommendation | Context |
|---|---|---|
| Zebco (2026) | 8 lb monofilament | Spinning combos, which give more control than spincast setups |
| North Dakota Game and Fish Department (2026) | 8-10 lb monofilament | Spinning reels with a size 20-40 spool, for shore fishing at a local pond or lake |
Both are useful reference points. An 8 lb line sits at the overlap of the beginner range and the heavier setups, so it is the most practical choice when you are unsure.
Hooks, bobbers and split shot
Hook size, float type and split shot weight should be chosen together, because each one changes how the bait sits in the water. For the small panfish most often caught at ponds, FishingBooker (2026) suggests baitholder hooks in size #6 and #4 for bluegill, sunfish, perch and trout. These sizes suit the small mouths of these fish.
Other target fish call for different hooks. The same source gives the following guidance:
| Target fish | Hook suggested (FishingBooker, 2026) |
|---|---|
| Bluegill, sunfish, perch, trout | Baitholder, #6 and #4 |
| Crappie | Light-wire Aberdeen, #4 to #2 |
| Catfish and larger fish | Circle hook, 1/0 to 3/0 |
For the float, FishingBooker (2026) recommends slip floats over red-and-white bobbers. Thread the float onto the line so it can slide, and check that the stop knot or stopper holds it where you want it before you cast. Choose a float that you can see clearly on the water surface at your distance.
Split shot weight should match both the float and the bait. The guidance from North Dakota Game and Fish Department (2026) lists a fixed bobber, split shot, octopus hook and worm as the basic beginner shore rig, and no weight figures are given. In practice, add shot one piece at a time, pinching each onto the line above the hook. Use enough weight to sink the bait gently, but not so much that the float stays pulled under. Lighter bait such as a cricket or wax worm needs less weight than a nightcrawler, and a small float needs less weight than a large one. Adjust in small steps and test each change by watching how the float settles.
What bait works best for beginners?
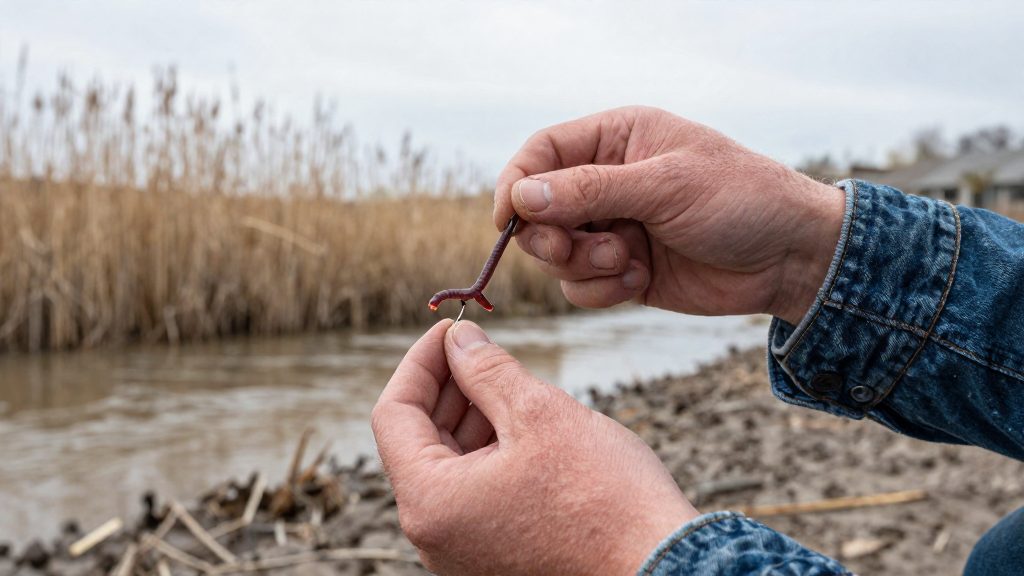
For a first session at a pond, live worms are the simplest bait to start with. Zebco (2026) pairs a bobber with a live worm for shore fishing. The right choice depends on which fish you want to catch and where they are holding in the water.
Natural baits for panfish
Natural baits cover the most common pond species. FishingBooker (USAngler, 2026) names these panfish baits:
| Bait | Category | Use stated by source | Attributed to |
|---|---|---|---|
| Worms | Natural | Panfish | FishingBooker (USAngler), 2026 |
| Nightcrawlers | Natural | Panfish | FishingBooker (USAngler), 2026 |
| Crickets | Natural | Panfish | FishingBooker (USAngler), 2026 |
| Leeches | Natural | Panfish | FishingBooker (USAngler), 2026 |
| Wax worms | Natural | Panfish | FishingBooker (USAngler), 2026 |
| Soft plastic swimbaits | Artificial lure | Pond predators such as bass | Zebco (2026) |
Live worms are the best starting point because they work on a range of panfish, and the same bait can be used with the basic bobber setup Zebco describes.
Soft plastic swimbaits as the lure option
Soft plastic swimbaits are the artificial option in Zebco’s pond guidance (2026). A swimbait does not need to be kept alive, so it is useful when you do not want to buy or handle live bait. A lure also requires a different technique from a static bait: you retrieve it through the water rather than letting it sit. Beginners should fish a swimbait with a steady retrieve and vary the speed until fish respond.
Matching bait to target fish and depth
Choose bait based on the species you expect to catch. Panfish take natural baits, while bass are the predator target for soft plastic swimbaits:
- Panfish (bluegill, sunfish, perch, crappie): live worms, nightcrawlers, crickets or wax worms.
For depth, keep the same spot and change only one variable at a time. If you switch from a worm to a swimbait, fish both at the depth where you have seen bites. This shows which bait the fish prefer rather than which depth they are in.
Where should you cast from the bank?
Start close to shore, in 2-6 feet of water. According to Zebco (2026), this is the zone to begin in when fishing a pond from the bank. Make your first casts into this shallow band before reaching for the middle of the pond. The goal of this first pass is to find where fish are active, not to cover the whole water surface.
Working along the bank until fish are found
Zebco advises moving along the bank until you find fish. A methodical approach works best:
- Cast into the 2-6 foot zone and let your rig settle.
- If nothing responds, take a few steps along the bank and cast again into the same depth band.
- Repeat until you get a bite or see fish activity, then stay on that stretch and fish it thoroughly.
Keep track of the stretches you have covered so you do not waste time on water you have already tested. Moving in short, regular steps helps you cover the shoreline evenly.
Casting angles: parallel and across the edge
Two casting angles cover most of the shoreline:
- Parallel to the shoreline: Cast so your offering travels along the edge of the bank. This keeps the lure or bait in roughly the same depth band for longer, which suits the stretch-by-stretch search described above.
- Across the shoreline: Cast out from the bank toward deeper water so your offering crosses the change in depth at the edge. This shows you how far from the bank the fish are holding.
Use parallel casts to search a stretch of bank, then switch to across-the-edge casts if the fish are not on the shallow shelf.
How do you tie on and rig a bobber setup?
The basic beginner shore rig, as described by North Dakota Game and Fish (2026), is a fixed bobber, split shot, octopus hook and worm. You build it by tying the hook to the line, adding the weight above the hook, and then setting the bobber so the bait sits at the depth you want. The steps below follow that order, so each part is in place before the next one is added.
Step 1: Tie the hook with an improved clinch knot
- Pass the end of the line through the eye of the hook.
- Wrap the tag end around the standing line several times, working back toward the eye.
- Pass the tag end through the small loop formed next to the eye, then through the larger loop you have just made.
- Moisten the knot, then pull the standing line and the hook apart slowly so the coils tighten neatly.
Tighten the knot gradually. A rushed pull can leave the coils uneven and weaken the connection.
Step 2: Add the split shot above the hook
Pinch a split shot onto the line a short distance above the hook, then crimp it with pliers or your fingers so it grips without damaging the line. The weight pulls the bait down and keeps it from drifting on the surface. Keep the shot above the hook rather than below it, so the bait hangs naturally.
Step 3: Set the bobber stop knot to your target depth
On a fixed bobber, you attach the bobber directly to the line at the depth you want, so its position on the line sets how deep the bait hangs:
- Choose the depth you want the bait to sit at.
- Measure that distance up the line from the hook and mark the point.
- Attach the fixed bobber to the line at that point so it cannot slide. If you use a slip float instead, tie a stop knot at that point and thread the float on below it.
On a slip float, the line passes through the float and the stop knot limits how far it can slide. Reset the stop knot whenever you change depth.
Rig order from the hook up
| Component | Position on the line | Function |
|---|---|---|
| Hook | Tied to the end of the line | Holds the bait |
| Split shot | Above the hook, crimped on | Takes the bait down |
| Bobber | Above the shot | Shows bites on the surface |
| Stop knot | Above the float (slip float rigs only; a fixed bobber attaches directly to the line) | Sets the bait depth on a slip float |
Before you cast, pull gently on the hook and the stop knot to confirm that each knot holds. Check the knots after every few casts, since a loose stop knot can slip and change your depth without you noticing.
Handling fish and catch and release
Most of the stress a pond fish takes comes from a long fight, rough handling and time out of the water. Safe handling is about keeping the fish wet, supported and in the air for as little time as possible. The same steps apply to panfish such as bluegill and sunfish, to perch and trout, and to larger predators.
Wet your hands first
Dry hands can strip the protective slime coat from a fish’s skin. Before you touch the fish, wet your hands in the pond. Keep the fish in the water for as long as you can while you work on the hook.
Support the fish horizontally
When the fish must come out of the water, support it horizontally. Place one hand under the belly and keep the body straight. Avoid squeezing the body, lifting the fish by the line, or holding it by the gill covers. Keep the fish low, close to the surface, so a slip drops it back into the water rather than onto the bank.
Remove the hook with pliers
Use pliers to remove the hook quickly. Grip the bend of the hook or its shank and back it out along the path it entered. Do not twist or pull hard on the line. Keep the removal slow and gentle.
| Target fish (FishingBooker) | Suggested hook |
|---|---|
| Bluegill, sunfish, perch, trout | #6 and #4 baitholder |
| Crappie | Light-wire Aberdeen, #4 to #2 |
| Catfish and larger fish | 1/0 to 3/0 circle |
If a hook is deeply swallowed and removing it would cause more damage, cut the line as close to the hook as you can and release the fish. The hook is then left in place, but you avoid tearing the mouth or gills.
Release the fish quickly
Once the hook is free, hold the fish gently upright in the water with its head pointed forward. Let it recover until it swims away on its own. Do not throw it back, as this can injure it.