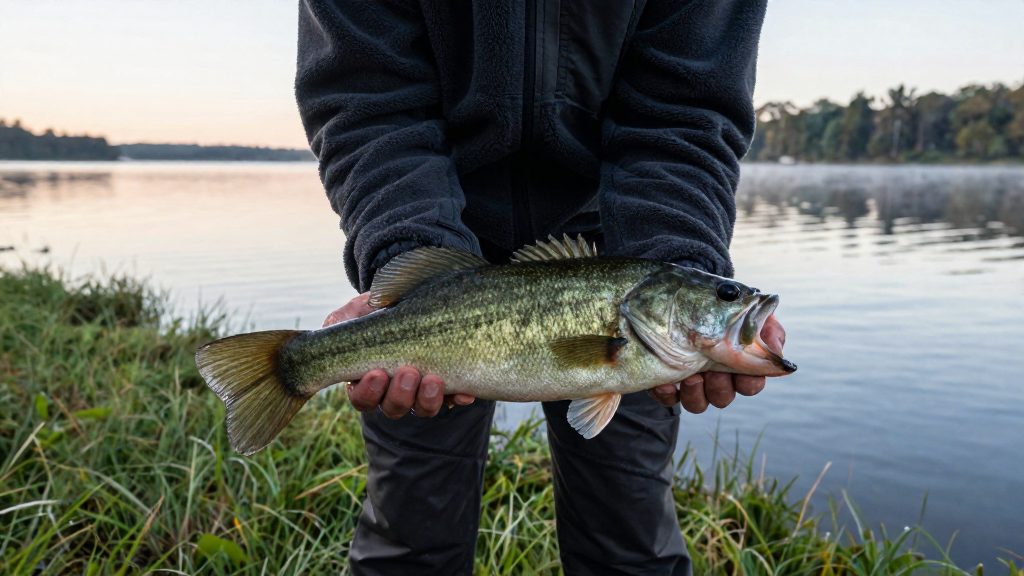
Handling injuries matter because a largemouth bass hurt during a catch can die after release, and larger fish appear to face greater risk of serious harm.
Why handling matters for largemouth bass
The main stake is survival. A study by the University of Florida, Florida FWC and the Fisheries Conservation Foundation examined 99 largemouth bass weighing 2.5–8.5 lb. According to Bassmaster (B.A.S.S.) (2016), the researchers found no difference between handling methods in 48-hour feeding success or in 30-day mortality.
| Outcome measured | Result across handling methods |
|---|---|
| 48-hour feeding success | No difference found |
| 30-day mortality | No difference found |
These results show that the grips tested did not, by themselves, change whether fish fed or survived the following month. They do not show that rough handling is harmless. The study covered fish of 2.5–8.5 lb only, so the results should not be extended to fish outside that range.
The size of the fish changes the risk. The study’s author notes that heavier trophy fish may be more vulnerable to serious injury, which is why handling injury should be minimized. A heavier bass carries more body mass to support, which may make it more vulnerable to serious injury, as the author notes.
For this reason, plan the handling before you lift the fish. Have your camera, measuring tape and release route ready. Keep the fish’s body supported at all times, and avoid lifting it by the jaw alone while you prepare. Treat every bass with the same care, and give the largest fish the most attention, since the author links injury risk to weight.
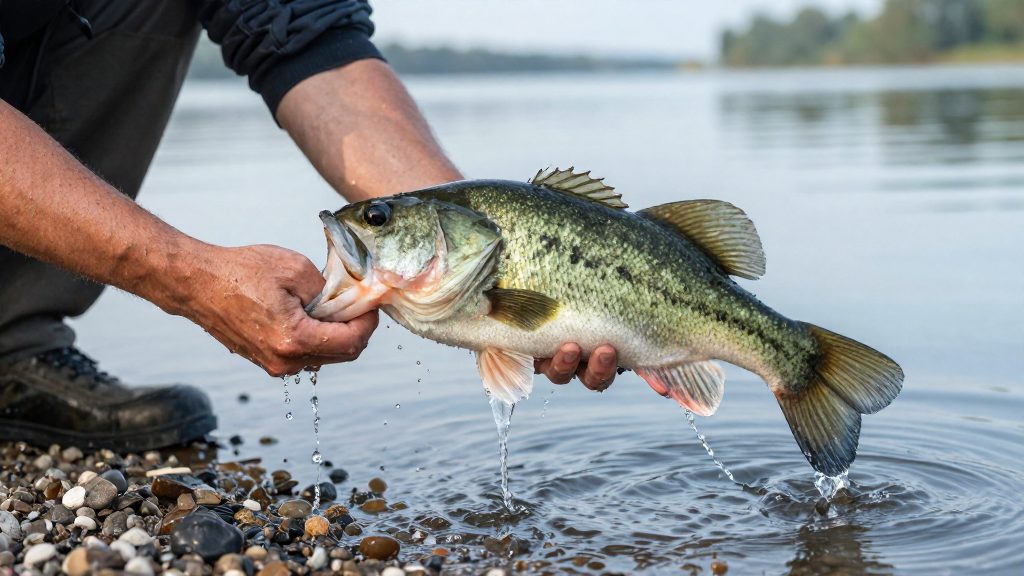
Can you lip-grip a bass safely?
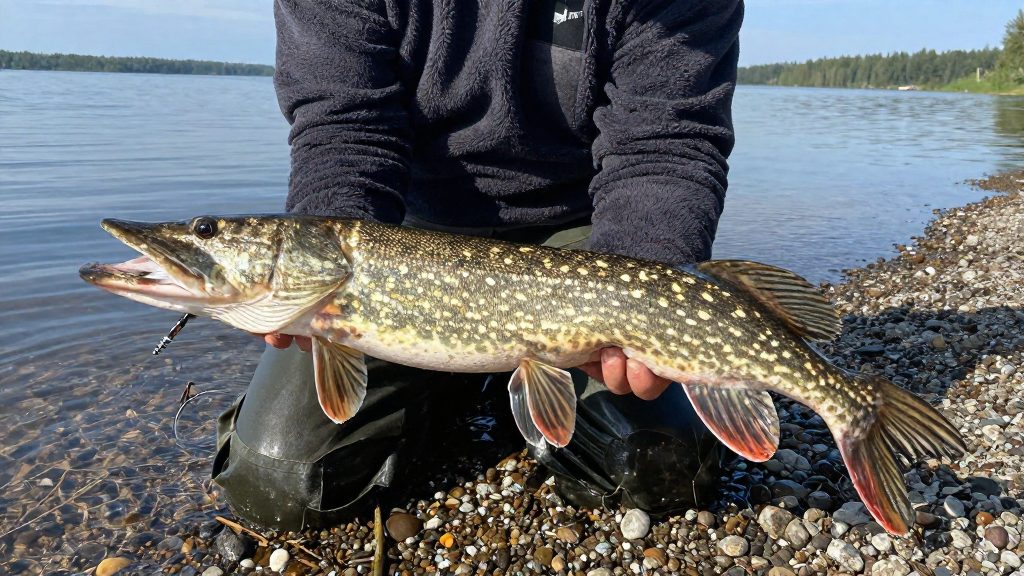
A lip grip on a largemouth bass was not linked to permanent jaw damage in the study, but that does not make it harmless; support the belly as well and keep handling short. In a University of Florida study of 99 largemouth bass, the jaw-only grip was one of three methods tested, and no permanent jaw damage was attributed to any grip. Fish weighing 2.5 to 8.5 lb were held out of water for one minute, and the horizontal jaw-only grip averaged a recovery time of 12 seconds. Safety depends on how long the fish stays out of water and how large it is, as much as on the grip itself.
What the study measured
| Parameter | Detail |
|---|---|
| Species | Largemouth bass |
| Sample size | 99 fish |
| Weight range | 2.5 to 8.5 lb |
| Time out of water | One minute per fish |
| Jaw-only grip, average recovery | 12 seconds |
| Permanent jaw damage | None attributed to any grip |
Source: Bassmaster (B.A.S.S.), by Stephanie Shaw, PhD, University of Florida (2016).
How to read the 12-second figure
The study ranked the grips by how quickly fish recovered after handling. A 12-second average describes the jaw-only grip under the test conditions only: one minute out of water, with fish in the 2.5 to 8.5 lb range. It does not show that every bass recovers in 12 seconds, and it does not cover fish outside that weight range.
Limits of the evidence
- The study found no permanent jaw damage from any grip.
- A jaw grip on a large bass calls for shorter handling time.
- The evidence covers jaw injury only. It does not establish that a jaw grip is harmless in every situation.
Practical steps for a lip grip
- Lift the fish only as long as you need to remove the hook or take a photo.
- Return the fish to the water promptly.
How do you hold a bass the right way?
Holding a largemouth bass horizontally, with its body fully supported in a two-handed cradle, gave the fastest recovery in the study. A University of Florida study, with the Florida FWC and the Fisheries Conservation Foundation, tested 99 largemouth bass weighing 2.5 to 8.5 lb. Each fish was held out of water for one minute using one of three grips. The results were measured as recovery time, meaning how long the fish took to return to normal swimming after release.
According to Bassmaster (B.A.S.S.), writing with Stephanie Shaw, PhD, of the University of Florida (2016), the grips ranked as follows:
| Grip | How the fish is held | Average recovery | Longest recorded |
|---|---|---|---|
| Two-handed cradle | Body fully supported along its length by both hands | Under 10 seconds | Not reported |
| Horizontal jaw grip | Lower jaw held, body horizontal | 12 seconds | Not reported |
| Vertical grip | Fish held upright, body hanging | 33 seconds | 6 minutes |
The two-handed cradle
The two-handed cradle gave the fastest recovery. To use it, place one hand under the belly toward the head and the other under the rear half, so the fish rests horizontally with no section hanging free. Keep the fish close to your body and lift it only as high as needed for the photo or hook removal. Supporting the weight along the full length is intended to reduce load on the jaw, belly and internal organs.
Horizontal support of the jaw and belly
If you need one hand free, support the lower jaw with one hand and the belly with the other, keeping the fish horizontal. This jaw-and-belly support follows Chesapeake Bay Foundation guidance; the study’s horizontal jaw-only grip, a different method, averaged 12 seconds. Avoid lifting the fish by the jaw alone while its body hangs.
Why vertical holds cause the most risk
Holding a bass upright, with its body hanging, averaged 33 seconds to recover, more than three times the cradle’s average of under 10 seconds. Some fish in the study took up to 6 minutes. The Chesapeake Bay Foundation (2025) advises against vertical holding because it can injure the organs and gills. Avoid this grip, even briefly.
The grip choice still matters, because the vertical hold produced the longest recovery times and the Chesapeake Bay Foundation links it to organ and gill injury.
Prep before the catch
Most handling injuries start before the fish reaches the bank. Preparation means getting your hands, your tools and your landing spot ready while the fight is still going, so you can lift and release the fish without fumbling. The Chesapeake Bay Foundation (2025) advises wetting your hands before touching any fish, which protects its skin.
Wet your hands before the fish arrives
Dip both hands in the water before the fish comes close, and re-wet them if you touch anything else, such as a towel, a bag or your rod. Keep the wetting habit on every contact, including when you only steady the fish for a moment.
Lay out your unhooking tools early
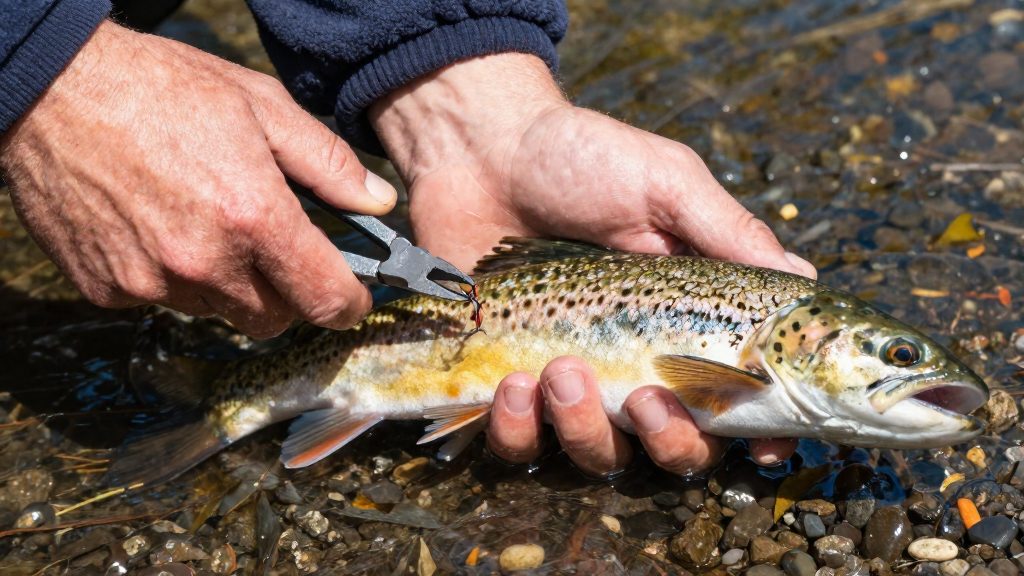
Place your pliers or forceps on the ground within easy reach while the fight is still underway. Look for them only once, then keep your eyes on the fish. Check beforehand that the tools open and close smoothly, and keep them attached to a lanyard or a pouch so they don’t slide into the grass or water.
Choose a landing spot with soft, wet ground
Pick a bank with soft, wet ground or a grassy margin rather than stones, gravel or bare concrete. Hard surfaces can scrape the fish’s skin and fins, and a soft surface gives it a cushioned place to rest. Clear loose sticks and debris from the spot before you play the fish in, and stand where you can slide it onto the wet ground rather than lifting it high.
| Prep step | What to do | When |
|---|---|---|
| Wet hands | Dip both hands in water before any contact | Before the fish is lifted |
| Tools | Lay pliers or forceps within reach | Before the fight ends |
| Landing spot | Choose soft, wet ground, free of debris | Before the fish comes to the bank |
Unhooking with minimal air time
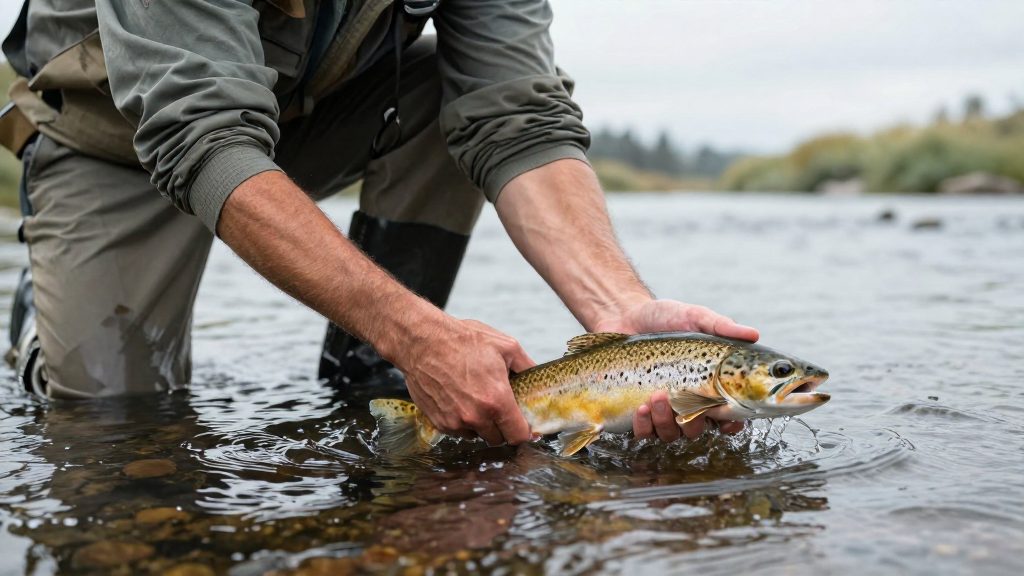
The most effective way to limit air exposure is to keep the fish in the water while you unhook it. With a largemouth bass, that means working with the fish’s head and body submerged and lifting it only as far as the hook requires. Keep the fish in the water whenever the hook can be reached that way.
When you do need to lift the fish, the time it spends out of water matters. A University of Florida study of 99 largemouth bass (2.5–8.5 lb) held each fish out of water for one minute, using one of three grips. Bassmaster (B.A.S.S.), by Stephanie Shaw, PhD, University of Florida (2016-03-30), reported these recovery times:
| Grip | Average recovery time |
|---|---|
| Two-handed, fully supported cradle | Under 10 seconds |
| Horizontal, jaw-only grip | 12 seconds |
| Vertical grip | 33 seconds (maximum 6 minutes) |
The cradle produced the fastest recovery.
Warmer air calls for extra care. Before you start, check the water temperature with a thermometer and compare it with the air. If the gap is large, shorten the lift further, or unhook the fish entirely in the water.
How do you revive a tired bass?
A tired largemouth bass recovers best in the water, with its head facing the flow. According to the Chesapeake Bay Foundation (2025), the method is to hold the fish facing into the current and move it gently in a figure-eight until it swims away. The moving water passes through the mouth and over the gills, so the fish can breathe while it regains strength without any effort from you beyond the gentle movement.
The sequence is simple, but each stage has a clear check before you move on:
| Stage | What you do | How to tell it is working |
|---|---|---|
| 1. Orient | Turn the head into the current, keeping the fish in the water | The fish stops drifting backward |
| 2. Support | Keep the body level, with the belly and lower jaw supported | The fish holds its shape without rolling |
| 3. Move | Sweep it slowly through a figure-eight, letting the water flow across the gills | Gill movement steadies and the fish stays upright |
| 4. Release | Open your hands once the fish kicks | The fish swims away under its own power |
Keep the movements wide and slow. Fast or jerky motion stresses an exhausted fish further and makes it harder for the fish to hold its position. Stay with the fish until it kicks hard enough to pull free. If it lies on its side or sinks, return to step 1 and repeat the figure-eight rather than letting go.
The time needed depends on how long the fight lasted and on the water temperature, so there is no fixed duration to aim for. Judge recovery by the fish’s behaviour, not by the clock.
Photo tips for quick, safe release
Every second a largemouth bass spends out of the water counts, so plan the photo before the fish leaves the water. In a University of Florida study of 99 largemouth bass (2.5–8.5 lb), reported by Bassmaster (B.A.S.S.) on 2016-03-30, fish held out for one minute recovered in under 10 seconds on average when supported in a two-handed cradle. A photo session that stretches past a few seconds adds stress on top of the handling itself.
Prefocus and set the camera before lifting
Set the camera while the fish is still in the water or in the net. Choose your focus distance, exposure and burst mode in advance, so that the only action left is pressing the shutter. Check the battery and memory card before the session starts, because a menu search with the fish in the air wastes time.
| Step | Action | Purpose |
|---|---|---|
| Before the catch | Charge the battery and free storage space | No checks during the photo |
| Before lifting | Set focus, exposure and burst mode | Only the shutter press remains |
| Before lifting | Frame a plain background and mark the spot where the fish will sit | Fewer adjustments |
| During the shot | Ask a companion to press the shutter | You keep both hands on the fish |
Return the fish to the water immediately after the photo
Release the fish as soon as the shot is captured. Take a short burst rather than a long series, review the result only after the fish is back in the water, and avoid posing for multiple angles. If the first frame is blurred, lower the fish back into the water and prepare the next frame before lifting it again.
Avoid placing the fish on dry or hot surfaces
Do not set a bass on dry grass, gravel, a tailgate or a car hood. Dry surfaces may scrape the skin, so keep the fish wet. When the air is much warmer than the water, as on a hot afternoon, shorten the photo window further and keep the fish wet throughout.
Gear that helps protect the fish
Hooks and nets are the tackle items that touch a largemouth bass most directly, so their design affects how much injury a fish takes before release. The Chesapeake Bay Foundation (2025) recommends barbless or circle hooks for easier release and a soft-mesh net large enough that the fish is not bent. These two choices are the main gear decisions for limiting handling injury.
Barbless or circle hooks
A barbless hook has no barb, so it can be removed with less force than a barbed hook. A circle hook has its point turned back toward the shank, so it is designed to hook the fish’s mouth without the point dragging deeper into tissue. Either type makes removal easier, which means less time spent pulling at the hook and less handling.
Soft-mesh nets sized for the fish
A net that is too small forces the fish’s body into an unnatural curve. The Chesapeake Bay Foundation (2025) advises a net large enough that the fish is not bent, and a soft mesh that is gentler on the skin and fins than stiff netting.
Size matters more as fish get heavier. The study of 99 largemouth bass weighing 2.5 to 8.5 lb, conducted by researchers at the University of Florida, Florida FWC and the Fisheries Conservation Foundation, was reported by Bassmaster (B.A.S.S.) in 2016. Choose a net whose frame and bag can hold the largest fish you realistically expect to land.
Check labels before buying
- Hooks: Look for “barbless” or “circle” on the packaging. If neither word appears, check the manufacturer’s product description before assuming the hook qualifies.
- Nets: Check the mesh material on the label or product page and confirm that it is soft rather than stiff. Compare the frame and bag dimensions with the fish you plan to catch.
- Missing details: If the mesh or hook design is not stated, check the manufacturer’s instructions or ask the retailer before purchase.
Frequently asked questions
Is it safe to lip-grip a largemouth bass?
The Bassmaster (B.A.S.S.) report on a University of Florida study (2016) found no permanent jaw damage from any of the grips tested, including the jaw-only hold. Even so, keep the fish’s belly supported whenever it is out of the water, because a grip that looks gentle can still stress the body.
How long can a bass stay out of the water?
In the same University of Florida study, each fish was held out of water for one minute. The two-handed cradle recovered fastest, averaging under 10 seconds, while the vertical grip averaged 33 seconds and took up to 6 minutes. Keep air time as short as possible, and return the fish to the water once the photo is taken.
What should I do if a bass looks exhausted after release?
Hold the fish facing into the current and move it gently in a figure-eight motion until it swims away on its own. Do not release it while it is still rolling on its side or drifting backward, since this usually means it has not recovered yet.