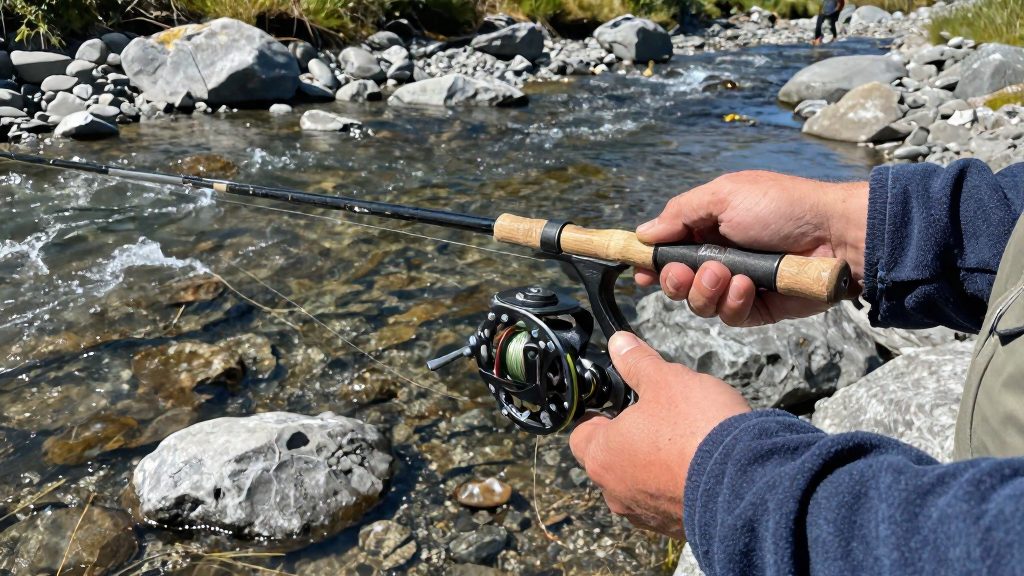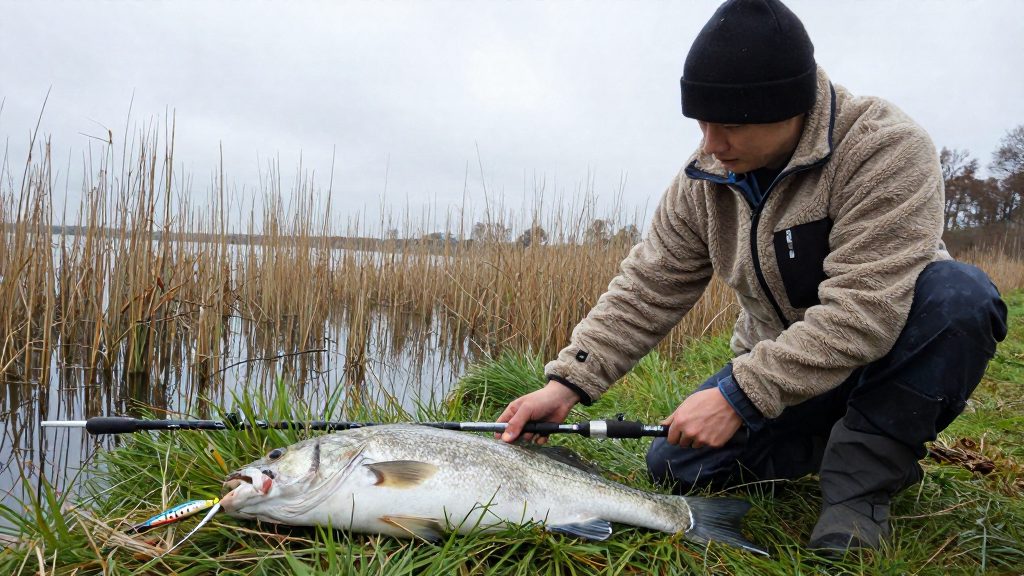
A fluorocarbon leader is a short length of line tied between the main line and the lure. For pike, it is mainly used where the lure or bait sits close to the fish’s teeth, so the leader takes the contact instead of the main line. Whether you need a leader depends mostly on how you present the lure or bait.
Why use a fluorocarbon leader for pike?
When a leader is almost mandatory
According to Northern Ontario Travel (2025), a leader is almost mandatory in these cases:
- Jigs tipped with soft plastics
- Jigs tipped with live minnows
The same source notes that a leader is often unnecessary when trolling large crankbaits. The deciding factor is therefore the presentation: the closer the bait is to the fish’s mouth, the more the leader matters.
Why fluorocarbon works as leader material
| Property | What it means for pike fishing |
|---|---|
| Flexibility | The lure moves naturally and the leader does not restrict its action. |
| Knot strength | The leader holds its knots well, so the connections to the swivel and lure stay reliable. |
| Abrasion resistance | It resists abrasion well enough for most pike situations. |
Fluorocarbon does not offer the highest level of bite-off protection; titanium or stiff single-strand wire gives more. Choose the leader material according to the presentation and the bite-off risk.
What the leader protects against
Pike teeth can cut an unprotected main line. When a pike takes a jig or live bait, the mouth and teeth are close to the line, and a bite can cut it. The leader acts as a sacrificial section between the teeth and the main line, which keeps the rest of your setup intact.
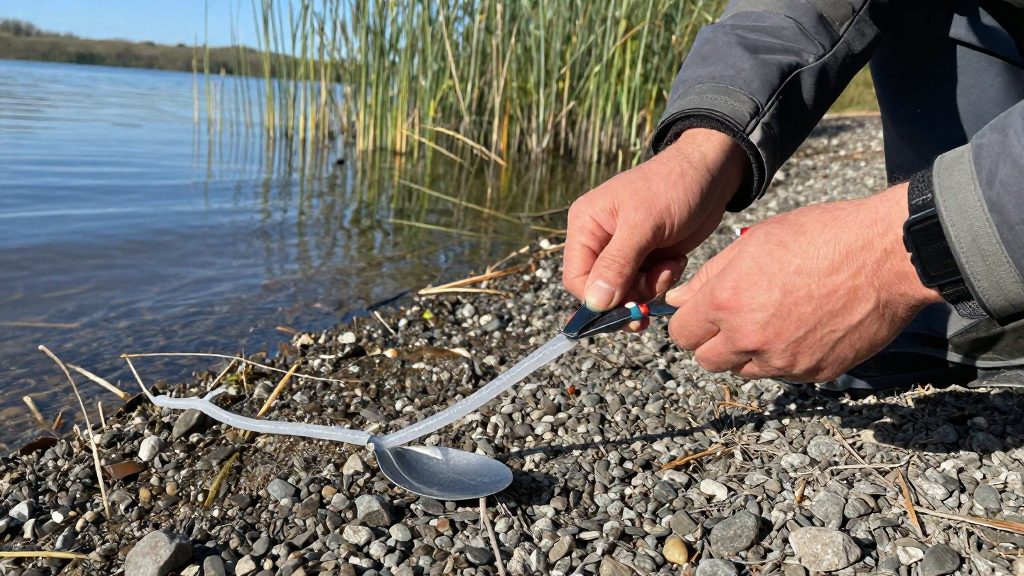
Choosing leader strength and length
A pike leader is set by three values: breaking strength, diameter and length. Each value involves a trade-off between protection and presentation.
For breaking strength, Northern Ontario Travel (Mark Romanack, 2025-06-09) suggests a leader of 50 to 80 lb test for presentations with a lower bite-off risk. Diameter is more specific. Rigging guidance from Rapala (Sufix) recommends 1.10 to 1.20 mm fluorocarbon for pike (metric sizing; check the manufacturer’s lb-test rating on US spools).
Diameter also sets a floor. Rapala (Sufix) advises against fluorocarbon under 1.00 mm for pike. At 0.90 mm or below, the line snaps often.
Length is where the two sources differ. Romanack suggests about 18 inches (roughly 46 cm) for lower bite-off risk presentations, while the Rapala (Sufix) rigging steps call for a cut of 80 to 90 cm (about 31 to 35 inches). Rapala (Sufix) advises replacing a leader once it is shorter than 50–60 cm. That threshold fits its 80–90 cm leader and cannot apply to a leader cut to about 18 inches, and the sources give no replacement point for the shorter option. The longer leader is the one used in the step-by-step method below, so if you follow that method, cut to the 80 to 90 cm range. The shorter 18-inch option is the one suggested for lower bite-off risk presentations. Choose the length according to how the lure is fished.
| Parameter | Recommended value | Source |
|---|---|---|
| Breaking strength | 50 to 80 lb test | Northern Ontario Travel (Mark Romanack, 2025-06-09) |
| Diameter | 1.10 to 1.20 mm | Rapala (Sufix) |
| Minimum diameter | 1.00 mm (not below) | Rapala (Sufix) |
| Length (rigging method) | 80 to 90 cm | Rapala (Sufix) |
| Length (lower bite-off risk) | About 18 inches | Northern Ontario Travel (Mark Romanack, 2025-06-09) |
Gear you need to build the rig
The build needs a braided main line, fluorocarbon for the leader, a cutter, a lighter, a ball-bearing swivel, a heavy-duty snap and a heavy-duty split ring. Gather them before you start so you can work through the steps without interruption.
According to Rapala (Sufix), the leader is cut to 80–90 cm of fluorocarbon. Keep spare line on the spool for a re-tie.
| Item | Role in the rig | What to check |
|---|---|---|
| Braided main line spool | Carries the uni knot that joins the braid to the leader | Clean, unfrayed end |
| Fluorocarbon spool | Supplies the leader, cut to 80–90 cm | Enough line left for a re-tie |
| Line cutters or scissors | Make clean, square ends on the braid and the leader | Sharp blades that close fully |
| Lighter | Seals the tag end once the leader is tied | Reliable ignition |
Braided main line
The braid is the reel line that the leader attaches to. Before you tie, trim any frayed or stiff section of braid, because the uni knot needs a clean, straight end to grip properly.
Fluorocarbon spool
The fluorocarbon spool provides the leader. Cut the leader to length before tying any knot, since a leader that is cut too short cannot be fixed afterwards.
Line cutters or scissors
Use dedicated line cutters or sharp scissors for every cut. A ragged end can prevent a knot from tightening evenly, and a square end is easier to trim neatly later.
Lighter
A lighter is the last tool you need. It is used to seal the tag end of the leader after the knot is tied.
How do you tie the leader step by step?
The leader is a short length of fluorocarbon that joins the lure to the braided main line. Tying it takes two knots, a clinch knot to the connector and a uni knot to the braid, plus a trimmed and melted tag end. Each step builds on the one before, so work through them in order and check each knot by pulling on it before you move on.
Step 1: Cut the fluorocarbon. Measure 80 to 90 cm of 1.10 to 1.20 mm fluorocarbon and cut it square with sharp scissors. A clean, square end makes the clinch knot easier to form and seat evenly.
Step 2: Tie the clinch knot. Pass one end of the leader through the eye of the swivel. Wrap the tag end around the standing line two times (two twists, not more), then pass the tag back through the small loop formed beside the eye. Wet the knot with water before you tighten it. Pulling the knot down dry can heat and weaken the line, so wetting it first lets the coils slide and seat smoothly. Wet the uni knot before tightening it as well. Tighten slowly, keeping the coils stacked neatly against the eye.
Step 3: Trim and melt the tag. Cut the tag end to about 1 cm. Carefully melt the short tail with a flame so it fuses into a small bead. This stops the tag from slipping back through the knot.
Step 4: Tie the uni knot to the braid. Lay the end of the braid alongside the free end of the leader and form a loop with the braid. Wet the knot, then wrap the braid’s tag around both lines in several tight turns. Wrap the braid’s tag around the doubled strands and the leader in several tight turns, then tighten by pulling the tag and the standing line together. Slide the knot down to the leader’s end, then pull hard on both lines to set it. The uni knot is the most common choice for joining braid to a leader because it holds under load and can be tightened without special tools.
| Step | Action | Key point |
|---|---|---|
| 1 | Cut 80–90 cm of 1.10–1.20 mm fluorocarbon | Square, clean end |
| 2 | Clinch knot, two twists, wet, tighten | Keep coils neat |
| 3 | Trim tag to about 1 cm, melt | Forms a small bead |
| 4 | Uni knot to braid | Pull to set |
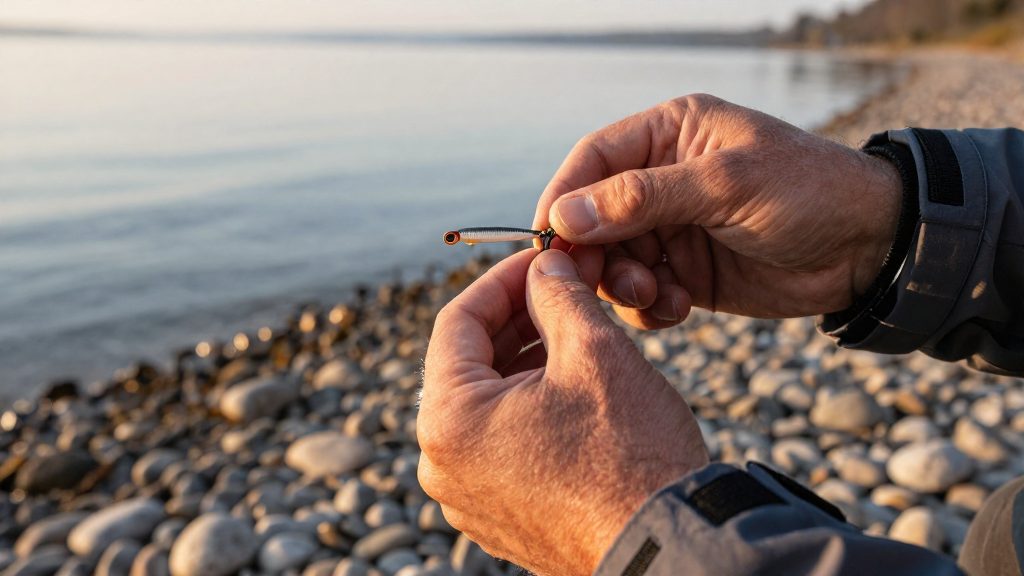
Connecting the lure: swivel, snap or split ring
The rig uses one swivel and one lure connector, and the two sources do not use the same connector. Rapala (Sufix) follows a fixed sequence: a clinch knot ties the leader to a ball-bearing swivel, a uni knot ties the braid to the other end of the leader, and a heavy-duty split ring clips the lure to the swivel. Northern Ontario Travel (Mark Romanack, 2025-06-09) suggests a leader of about 18 inches in 50 to 80 lb test, with a ball-bearing swivel on one end and a heavy-duty snap on the other.
| Order | Component | Position | Used in |
|---|---|---|---|
| 1 | Ball-bearing swivel | Leader end, tied with a clinch knot | Both sources |
| 2 | Heavy-duty split ring | Swivel eye to lure eyelet | Rapala (Sufix) |
| 2 (alternative) | Heavy-duty snap | Opposite leader end, lure clip | Northern Ontario Travel (Mark Romanack, 2025-06-09) |
Choose one lure connector
Use the split ring from the Rapala sequence or the snap from the Romanack setup, not both. Adding a second connector on the same end creates an extra connection that can slip or weaken.
The swivel stays on the leader
The swivel is the fixed point of the leader. Tie it in during step 2 of the rigging sequence and leave it on the leader, so the lure is the only part you detach when you change it.
Matching the connector to the leader
The split ring or snap must be rated at least as strong as the leader, so the weakest point of the rig is not the connector.
When is wire a better choice?
Wire makes more sense than fluorocarbon when the main risk is a pike cutting through the leader, not the lure failing to attract a strike. Titanium or stiff single-strand wire gives more bite-off protection. Fluorocarbon remains the usual choice, and wire is the step up when teeth are the bigger threat.
| Feature | Fluorocarbon | Titanium or stiff single-strand wire |
|---|---|---|
| Flexibility | Flexible | Stiff |
| Bite-off protection | Adequate for most pike situations | More protection |
The clearest case for wire is the jerkbait. The same source names jerkbaits as the main example where wire gives more protection than fluorocarbon. Jerkbaits are typically worked with sharp rod twitches, and a pike that strikes them often takes the lure hard and close to the leader. Wire gives more bite-off protection with jerkbaits.
Wire stiffness also changes how the lure behaves in the water. A stiffer leader can alter the lure’s movement compared with a softer line, so the action may not match what the lure does on its own. Before fishing, check the rigged lure in shallow, clear water. Compare its action with the unrigged lure and confirm the wobble or dive is still what you expect.
Checking and replacing your leader
A pike leader only protects your lure while it is intact, and fluorocarbon wear is easy to miss at the rod tip. Check the leader after every fish and every snag, then replace it once it has been shortened too far. Rapala (Sufix) advises replacing a fluorocarbon leader once it is shorter than 50–60 cm. Each retie uses up length at the cut end, so the leader shortens over a session even without any visible damage.
What to inspect
Run the leader between your thumb and forefinger along its full length, feeling for flat spots and roughness, then look at the areas most likely to wear:
| Area | What to look for | Action |
|---|---|---|
| Lure end | Scored lines or nicks from pike teeth | Trim back to clean line, then retie |
| Swivel end | Whitening or fraying where the line rubs the eye | Cut out the damaged section |
| Middle of the leader | Flat spots, kinks, or a section that feels rough | Replace the leader if the damage is spread along it |
| Whole leader | Length below 50–60 cm | Replace the leader |
Fluorocarbon is not immune to teeth. Inspect the leader in good light, because small nicks are easier to spot when you turn the line.
Retying after every fish or snag
Treat each fish and each snag as a reason to re-check the knots at both ends of the leader. A knot that has taken the load of a fish or been pulled hard during a snag should be tied again rather than trusted. A weakened knot is the most common point of failure on a leader that otherwise looks sound.
When to replace
Replace the leader once it is shorter than 50–60 cm rather than tying in another short piece. Keep a spare leader already rigged to a swivel and snap in your tackle box. Swapping at the water takes less time than rebuilding a damaged leader on the bank, and it keeps the lure protected.