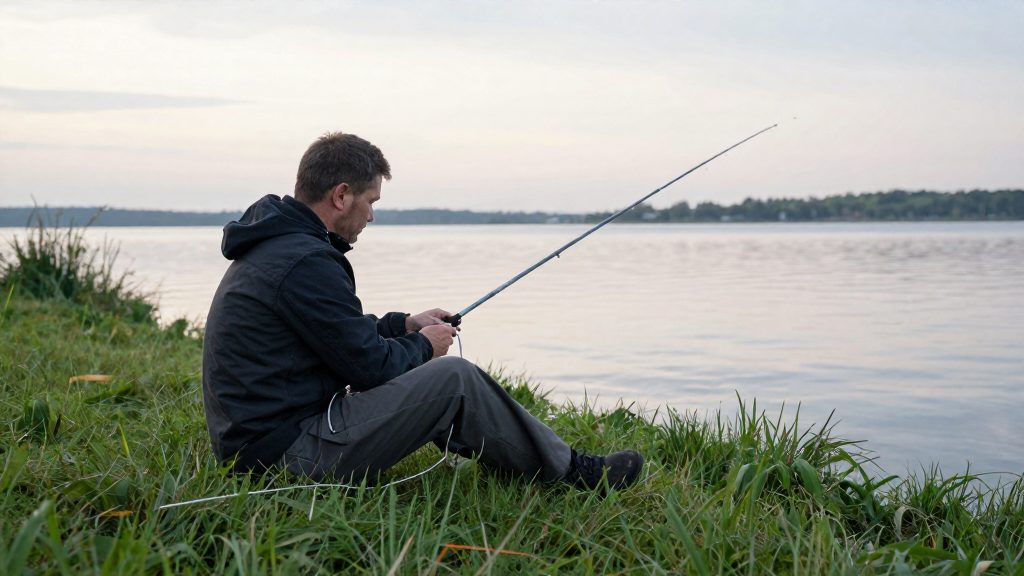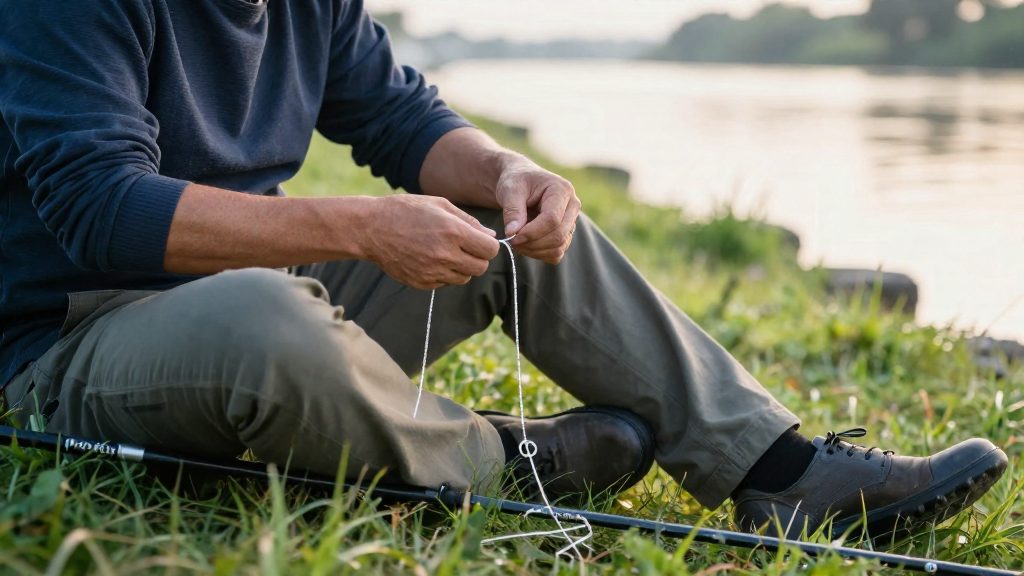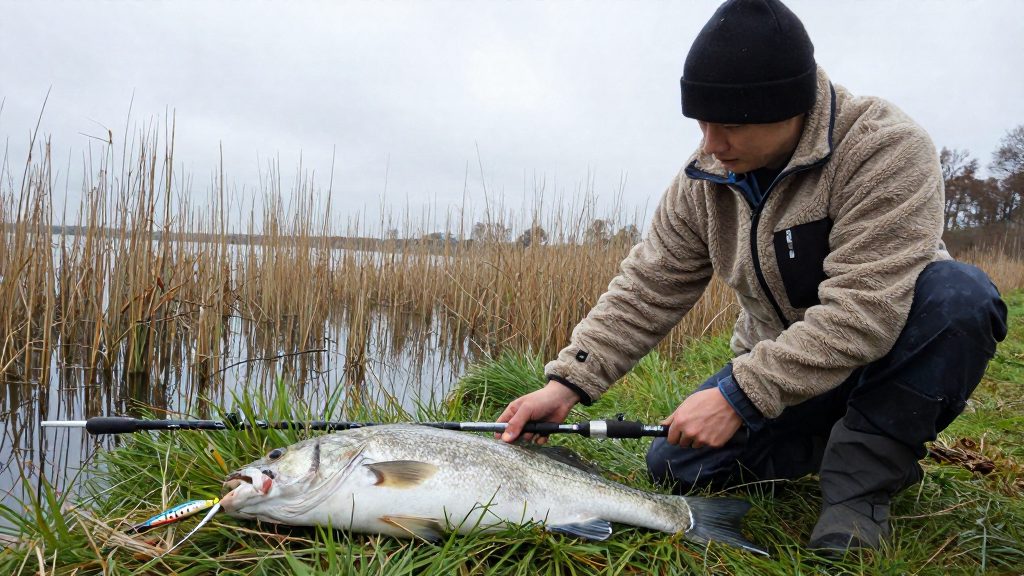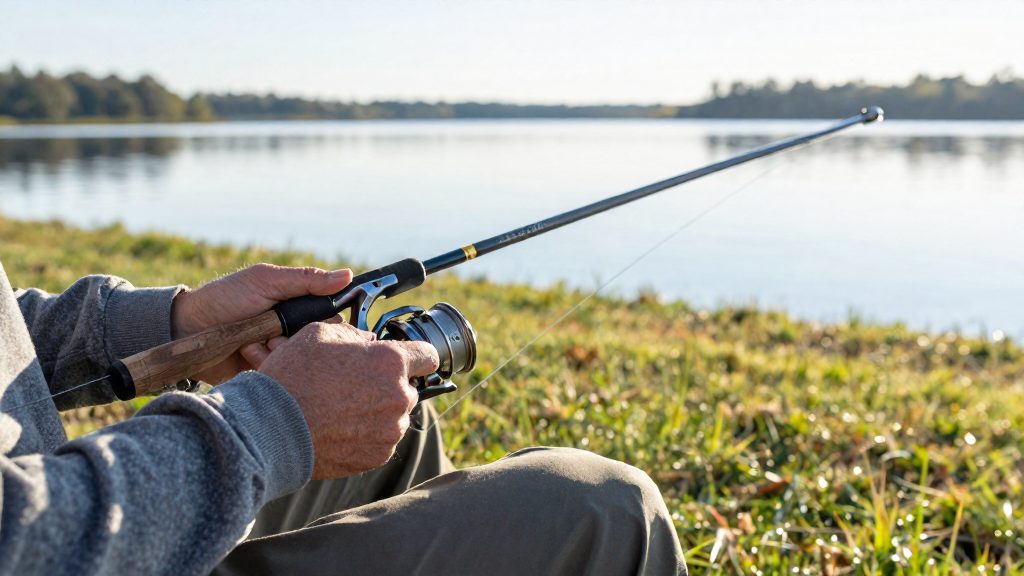
The improved clinch knot is a simple knot for attaching terminal tackle to the end of your main line. It suits monofilament and fluorocarbon, and it secures hooks, swivels and lures in lure fishing and predator fishing.
What is the improved clinch knot used for?
The knot connects the line to the eye of a piece of tackle, so the connection holds when a fish pulls. It is used for the following items:
| Terminal tackle | What the knot secures |
|---|---|
| Hook | The line to the eye of a bait or lure hook |
| Swivel | The line to a swivel, which lets the lure or rig turn without twisting the line |
| Lure | The line to the eye of a spinning, jerk or crankbait lure |
Typical predator targets
Anglers use the knot most often when fishing for predators such as pike, perch, trout and bass. These are common targets for lure fishing, where the line must hold firm when a fish strikes or fights. Use the knot for the lure or hook you are fishing with, rather than for the main line to the reel.
Why it suits beginners
The knot has few steps and can be tied quickly, which makes it a practical first knot for anglers learning to change lures or hooks. Because it needs only one pass through the eye and a short set of turns, beginners can learn it in a short session and repeat it at the water’s edge.
What you need before you tie it
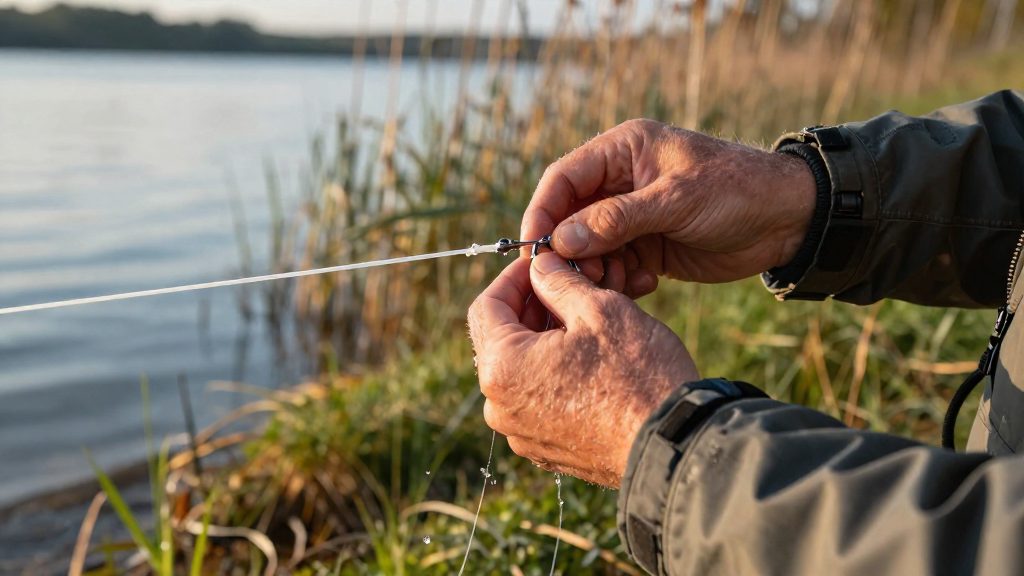
The improved clinch knot needs four things: a hook, lure or swivel with a suitable eye, a spool of line of the right type, a tag end of the correct length, and sharp cutters. Gather them before you start, because the knot is only as reliable as the eye it wraps around and the line it is tied in.
Terminal tackle: Use a hook, lure or swivel with a round, clean eye. Check the eye for roughness or flattened sections before you begin. If the eye is damaged, replace the terminal tackle rather than tightening the knot against an uneven surface.
Line type: The knot works best with monofilament or fluorocarbon, according to Outdoor Life (2026-07-30). 101Knots (2016) gives the following guidance on line choice:
| Line type | Suitability for this knot |
|---|---|
| Monofilament | Suitable. 101Knots lists the Trilene knot as an alternative for monofilament. |
| Fluorocarbon | Suitable, per Outdoor Life (2026-07-30) |
Check the breaking strength printed on the spool label before you cut any line. Manufacturers print this figure on the packaging, so the label is the most reliable source for the line you are using.
Tag end length: Measure the tag end before you start. Outdoor Life (2026-07-30) gives these lengths:
| Line class | Tag end length |
|---|---|
| Ultralight line | About 3 inches |
| Heavier line or leader | 5 to 6 inches |
Line spool: Keep the spool close by so you can cut a fresh length, and the tag end, without pulling extra line off the reel.
Sharp scissors or clippers: Have a sharp pair ready for trimming. Dull blades can fray the end of the line, so a sharp cut is a simple way to keep the finished knot neat.
How do you tie an improved clinch knot step by step?
The improved clinch knot attaches line to a hook, swivel or lure eye in three moves: pass the line through the eye, wrap the tag end around the main line, then thread the tag end through two loops. Work through the moves in order and keep each coil neat, so the knot forms with the wraps lying side by side.
Step 1: Pass the line through the eye
Pass the end of the line through the eye of the hook, swivel or lure from front to back. Pull out enough line to leave a free tag end beside the standing line. Keep the tag end and the main line apart so you can see which strand is which before you wrap.
Step 2: Wrap the tag end around the main line
Take the tag end and wind it around the main line, coiling it toward the eye. Keep the coils close together and flat, without crossing them over each other. Hold the coils between your thumb and forefinger so they do not unwind while you work.
Step 3: Thread the tag end through the small loop
Once the wraps are in place, pass the tag end back through the small loop. This loop sits at the eye, between the eye and the first wrap. Feed the tag end through it from the same side you wrapped from, so the wraps stay in order.
Step 4: Thread the tag end through the large loop
Next, pass the tag end through the large loop. This loop forms between the wraps and the tag end after the first threading. Feeding the tag end through it is what locks the coils in place, so check that the tag end runs through the loop and does not sit beside it.
| Move | Where the tag end goes | Loop involved |
|---|---|---|
| Pass | Through the eye, front to back | None |
| Wrap | Around the main line, toward the eye | None |
| Thread 1 | Through the small loop at the eye | Small loop |
| Thread 2 | Through the large loop between wraps and tag end | Large loop |
How many wraps should you use?
The number of wraps depends on the breaking strength of your line, not on personal preference. Lighter line needs more turns to grip firmly, while heavier line needs fewer, because each extra turn on thick line makes the knot harder to seat evenly against the eye. Outdoor Life (2026) sets out the following guide for the improved clinch knot:
| Line breaking strength | Number of wraps |
|---|---|
| 10 lb or less | 5 to 7 wraps |
| 20 to 40 lb | 4 wraps |
| Over 40 lb | 3 wraps |
Count each pass of the tag end around the main line as one wrap. Use the table as a starting point, then check that the coils sit neatly before you pull the knot tight.
The table does not give a figure for line rated between 10 lb and 20 lb, so the bands leave a gap. For that line, check the manufacturer’s instructions on the spool or packaging, or ask the staff at your local tackle shop.
101Knots (2016) gives a similar split, advising 5 or more wraps for light line and 4 wraps for heavier line. Its wording is less specific than the table above, so use the bands above when you need a count for a particular line strength.
How do you tighten and trim it safely?
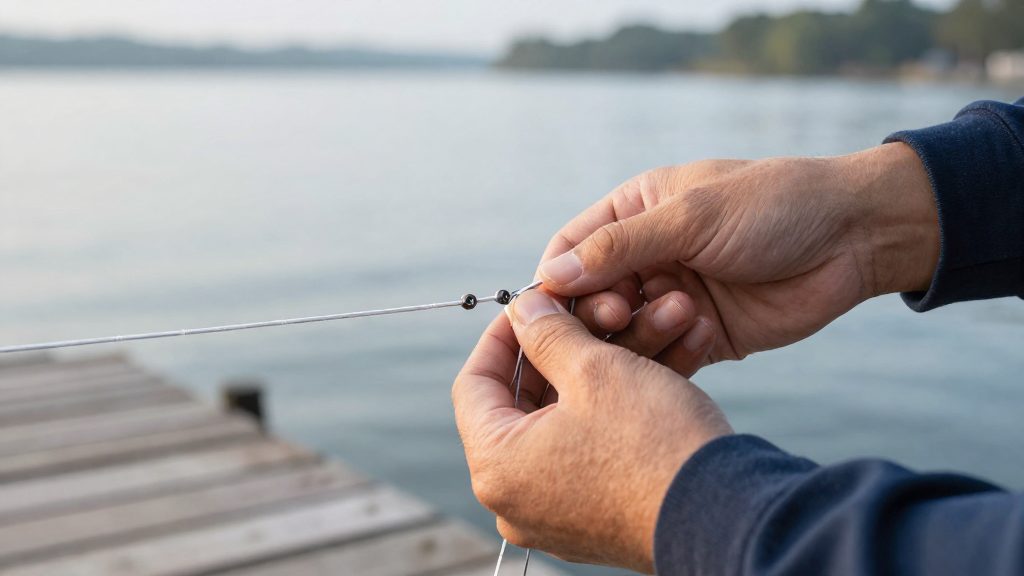
Tightening an improved clinch knot is a controlled sequence. The coils need to be wet before they take any load, and then they need to be drawn down slowly so they seat neatly against the eye. According to Outdoor Life (2026), moistening the coils and pulling the tag end gently are the two steps that keep the wraps from bunching up.
Wetting the coils
Before you pull, moisten the knot with saliva. Run a little on the wraps and the tag end so the line can slide through the coils instead of gripping at the first turn. Do this every time, including when you tie a second knot in the same session, because the coils dry out while you rig up.
Seating the coils against the eye
Tighten in two pulls:
- Pull the tag end slowly. A steady pull lets each wrap coil neatly around the main line.
- Pull the main line. This slides the coils down the line until they jam against the eye of the hook, lure or swivel.
Avoid yanking either end. A sharp pull can seat the wraps unevenly, and the knot will be harder to inspect before you trim it.
Trimming the tag end
Once the coils have jammed against the eye, trim the tag end close to the wraps with sharp nippers or line cutters. Cut only the tag end. Before you start fishing, run your fingers along the main line near the knot and check that it has no nicks or flat spots from the cutters. If the line feels damaged, retie the knot with fresh line rather than fishing on a compromised section.
Can you use it with braided line?
Not reliably. Outdoor Life (2026) states that the Improved Clinch Knot is not recommended for slick, thin braided line, because the wraps can slip. Two properties of braid explain why. First, braid has a thin diameter for its breaking strength and a smooth, tightly woven surface, so the coils have little friction to grip each other and the eye. Second, braid has very little stretch compared with monofilament or fluorocarbon. Mono and fluoro give slightly as the knot is pulled tight, which helps the coils settle and jam against the eye. Braid does not give in the same way, so the wraps are less likely to seat firmly.
If you fish with braid, use a knot designed for it:
| Knot | Line it suits | Source |
|---|---|---|
| Improved Clinch Knot | Monofilament or fluorocarbon | Outdoor Life (2026) |
| Palomar Knot | Braided line | 101Knots (2016) |
| Trilene Knot | Monofilament, listed as an alternative | 101Knots (2016) |
101Knots recommends the Palomar Knot for braid. It is tied from a doubled length of line: pass the loop through the eye, tie a simple overhand knot in the loop, pass the loop over the hook or lure, then moisten the knot and pull both the tag end and the standing line.
If your line is monofilament rather than braid, 101Knots lists the Trilene Knot as an alternative. Choose the knot according to the line you spool onto the reel, not the one you used on your last outfit.
Common mistakes and when to choose another knot
The improved clinch knot suits light to medium line. Its limits are clear, and most failed attempts come from three conditions: line that is too heavy, coils that never settle against the eye, and line that is stiff or damaged. Spotting these before you pull tight saves time on the bank and avoids a knot that looks finished but has not seated properly.
Heavy line above about 30 lb
According to 101Knots (2016), the knot is hard to tie in heavy line and is not recommended above about 30 lb breaking strength. This is stricter than the wrap table above, which also lists counts for 20 to 40 lb and over 40 lb line. Treat those higher bands with caution, and switch to a knot suited to heavier line if the wraps will not form or seat. Thick line resists bending, so the wraps do not lie flat and the tag end is hard to thread through the loops. If you struggle to form the coils, stop and switch to a knot designed for heavier line rather than forcing the wraps.
Coils that never seat against the eye
The knot only holds when the coils slide down and jam against the eye. If the coils stay loose, spread out, or slide back as you tighten, the knot is not ready to hold. Re-wet the coils and pull the tag end slowly, as Outdoor Life (2026) advises. If the coils still will not seat, the line is probably too stiff for this knot, so change knots instead of tightening further.
Heavy or damaged line that resists coiling
Stiff or kinked line springs back after each wrap and will not form a neat coil. Check the line for kinks, nicks, or abrasion before tying. Cut back past any damaged section and retie with clean line. If the line has a permanent kink or memory that will not straighten, replace that section.
| Problem | Typical sign | Practical response |
|---|---|---|
| Line above about 30 lb | Tag end hard to thread; wraps will not form | Use a knot suited to heavier line |
| Coils never seat | Coils stay loose or slide back | Re-wet and pull slowly; if still loose, change knot |
| Stiff or damaged line | Coils spring back; visible kinks or nicks | Cut back past damage and retie; replace kinked line |