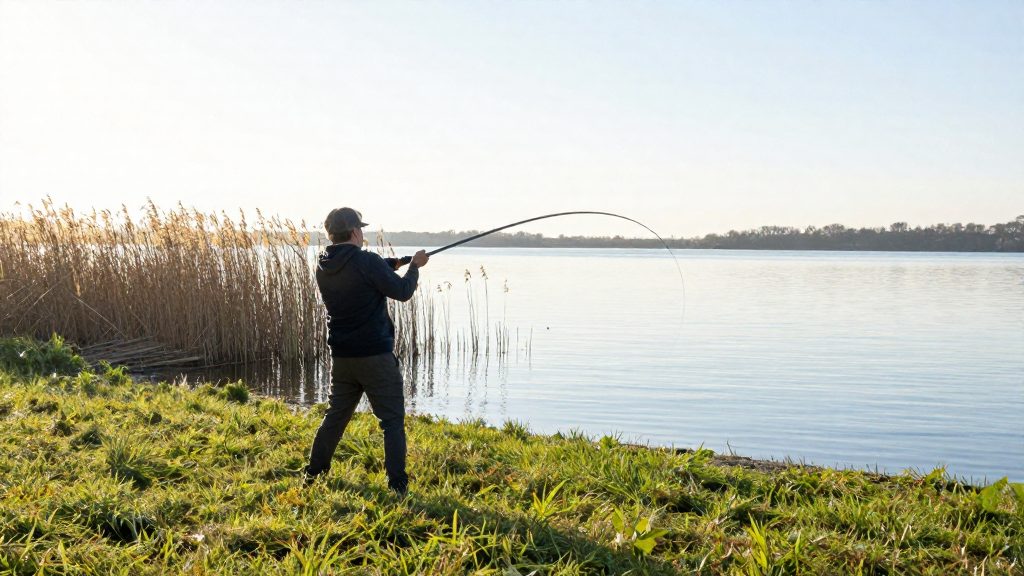
In Ontario, you need a valid Outdoors Card before you can buy a fishing licence, and you need that licence before you fish. The Outdoors Card is valid for three years. Ontario offers two licence types, Sport and Conservation, and Canadian residents under 18 or 65 and older do not need an Ontario fishing licence. The rules below use Ontario as the reference, as set out by the Government of Ontario (2026).
What do you need to shore fish legally in Ontario?
Buying an Outdoors Card
The Outdoors Card is the first document to obtain. It is valid for three years, and you must hold it before you can buy a fishing licence. You can buy it online, through ServiceOntario, or from a licence issuer. The same three options apply to the fishing licence itself.
Sport versus Conservation licence
Choose between the two licence types based on whether you plan to keep fish.
| Feature | Sport licence | Conservation licence |
|---|---|---|
| Catch limit | Lets you keep more fish | Reduced catch limit |
| Intended use | Keeping fish | Recommended for catch and release |
If you plan to release most of what you catch, the Conservation licence matches that plan, because its catch limit is lower. If you plan to keep fish for the table, the Sport licence allows a larger catch.
Who is exempt by age and residency
The exemption applies to Canadian residents who are under 18 or 65 and older. These anglers do not need an Ontario fishing licence. Anglers who do not fall into these groups need the Outdoors Card and a licence. Check the Government of Ontario’s current eligibility rules before you fish, since exemptions are defined by residency and age, and the category you fall into determines whether you need to buy anything.
Following local regulations
A licence does not replace the rules for the water you fish. Ontario is divided into 20 Fisheries Management Zones, and each one can carry its own requirements. Rules for specific waterbodies are published on Fish On-Line, so look up your water before you cast. You are responsible for following the regulations that apply where you fish.
Which rod, reel and line suit a beginner?
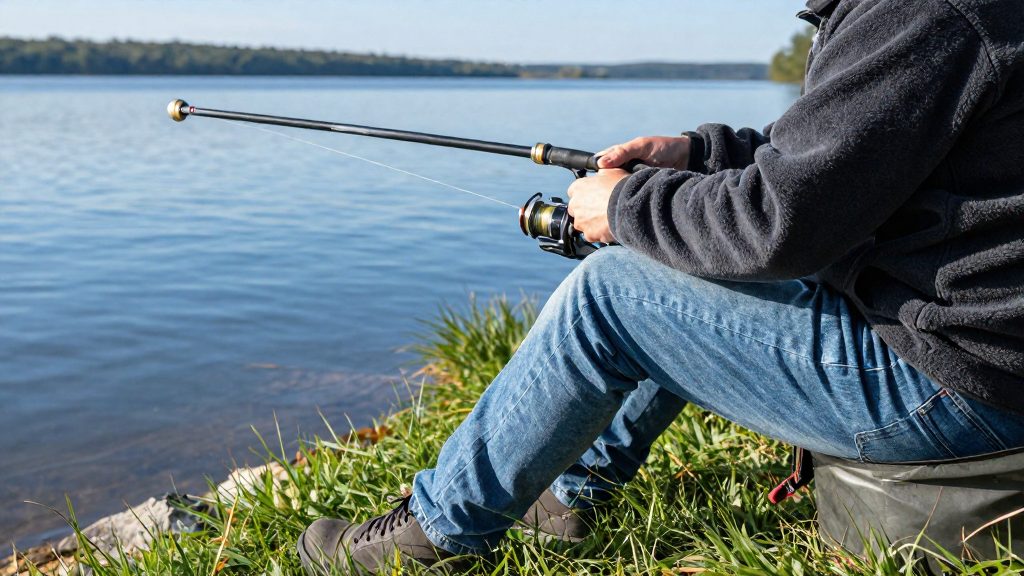
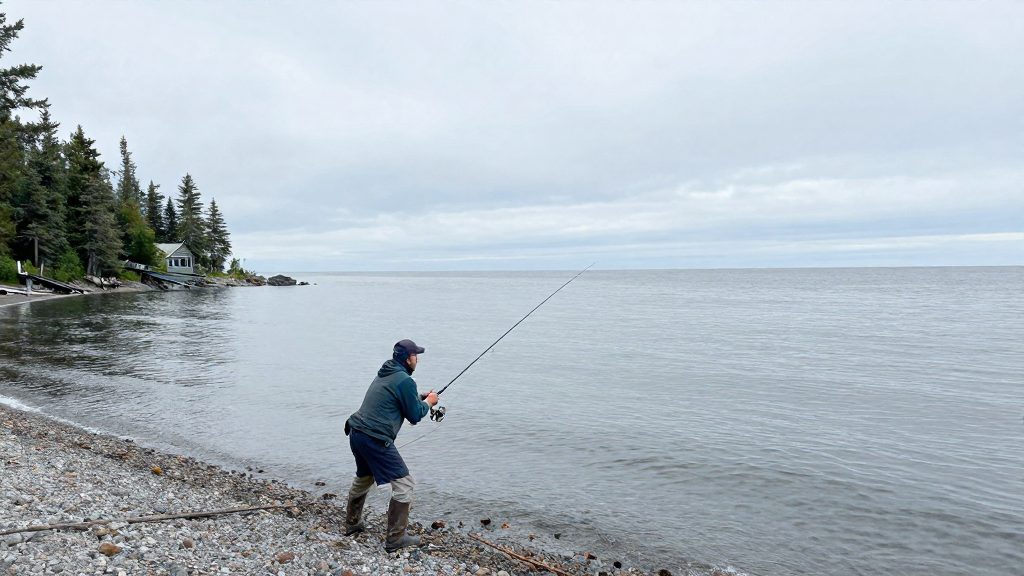
For shore fishing, a first setup built around a medium-action rod, a spinning reel and a line in the 6 to 10 lb test range covers the most common freshwater situations. According to Cottage Life, this combination is a practical starting point. Each component has a distinct job, and the choice of each one reduces a different source of frustration for a new angler.
Why a spinning reel beats a baitcaster
A spinning reel is the easier choice for a beginner. Baitcasting reels can backlash, meaning the line tangles on the spool, when the spool tension is set incorrectly. A spinning reel avoids this problem because it has no spool tension to set against the lure’s weight, which makes it the more forgiving first reel.
Medium-action rod length for shore fishing
A medium-action rod is the suggested action for a first rod. Cottage Life gives a general length of about 5.5 to 6 ft and recommends shorter rods when fishing from the shore.
| Setting | Beginner guidance |
|---|---|
| Action | Medium |
| General length | About 5.5 to 6 ft |
| Length from shore | Shorter than the general length |
Monofilament versus braid line
Both line types suit a beginner, but they behave differently. Monofilament is less visible in the water but less durable. Braid is stronger and copes better with weeds and rocks, which are common hazards on shore.
| Factor | Monofilament | Braid |
|---|---|---|
| Durability | Less durable | Stronger |
| Weeds and rocks | Less suited | Copes better |
For most shore sessions, braid handles snags better, while monofilament suits anglers who prioritise a less visible line. Whichever you choose, a 6 to 10 lb test line suits walleye and bass, according to Cottage Life. That guidance does not cover pike, whose teeth can wear through light line, so check your setup before targeting them.
How do you choose your first lures and baits?
Start with the fish you want to catch, then pick the lure that matches it. A small kit of a few lures covers the most common species and conditions for a beginner. According to Cottage Life, a jig is the most practical first purchase because it works as a general-purpose lure, and it can be paired with a different soft plastic or grub depending on the target fish. The table below lists the lure pairings Cottage Life recommends for three common species.
| Target fish | Suggested lure |
|---|---|
| Walleye | Jig tipped with a curly-tail grub |
| Northern pike | Spoon |
| Smallmouth bass | Tube jig |
Jigs as an all-purpose first lure
A jig is a weighted hook with a head that carries a soft plastic or natural bait. Because one jig suits several situations, it is the most efficient item to buy first. Build your kit around jig heads in a few weights, then add trailers as you learn which fish respond to them. Choose a weight that lets the lure sink at a pace you can control, and change it when the water depth or current changes.
Spoons, tube jigs and curly-tail grubs by species
- Spoon: Cottage Life recommends spoons for pike. A spoon is a metal lure that wobbles and flashes as you reel it in, which suits a fish that hunts by sight.
- Tube jig: Cottage Life recommends tube jigs for smallmouth bass. The hollow soft-plastic body fits onto a jig head and is worked slowly along the bottom.
- Curly-tail grub: Cottage Life pairs the curly-tail grub with a jig for walleye. Its tail vibrates on the retrieve, so you can fish it steadily without stopping the lure.
Match the lure to the species first. Then adjust colour and size to the water you fish.
Worms and minnows as natural baits
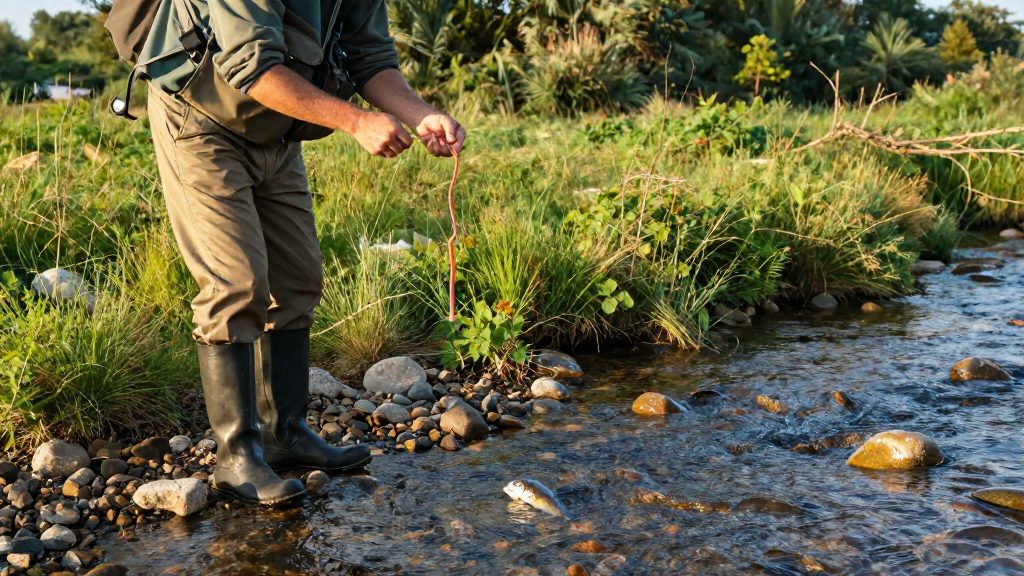
Worms and minnows are the traditional natural baits, and they need no technique beyond threading them onto a hook. Use a fresh, lively bait and replace it when it becomes soft or damaged.
Where should you cast from the shore?
Productive shore spots are places where the water gives fish something to hold near: structure, a change in depth, or a change in current. Before you cast, walk the bank and look for these features. Then choose a spot that combines at least two of them. Casting at random along a uniform, open shoreline usually covers water with little to hold fish.
Reading structure from the bank
Look for features you can see from land:
- Weed edges, where dense weed meets open water. Fish often hold on the boundary, close to cover, and watch the open side for food.
- Rock points, where a rocky finger runs into the water. Fish tend to gather on the sides and at the tip.
- Drop-offs, where the bottom falls quickly from shallow to deep water. Shallow ground next to a sudden drop gives fish a deeper retreat nearby.
| Feature | Where to cast | Why it can hold fish |
|---|---|---|
| Weed edge | Along the boundary, parallel to the weed | Cover sits beside open water |
| Rock point | The tip and both sides | Rock breaks the flow and creates hiding places |
| Drop-off | The shallow side, casting over the break | Deeper water is close by |
| Current seam | Upstream of the feature | Flow carries food past the fish |
Wind and current on the shoreline
Wind often pushes surface food onto the bank it blows toward, so the wind-driven shore is a sensible first choice. Check which side the wind is pushing onto before you pick a spot. Where current flows past a point or into an inlet, cast upstream of the feature and let the flow bring the lure across the structure. Watch for the seam where fast and slow water meet, since it is often where food collects.
Footing and bank positioning
Choose a spot where you can stand firm and cast freely, with no branches or obstacles behind you. Keep back from the edge of steep or wet banks. Position yourself so the weed edge or drop-off is within casting reach, rather than wading into water of unknown depth.
How do you cast and fish step by step?
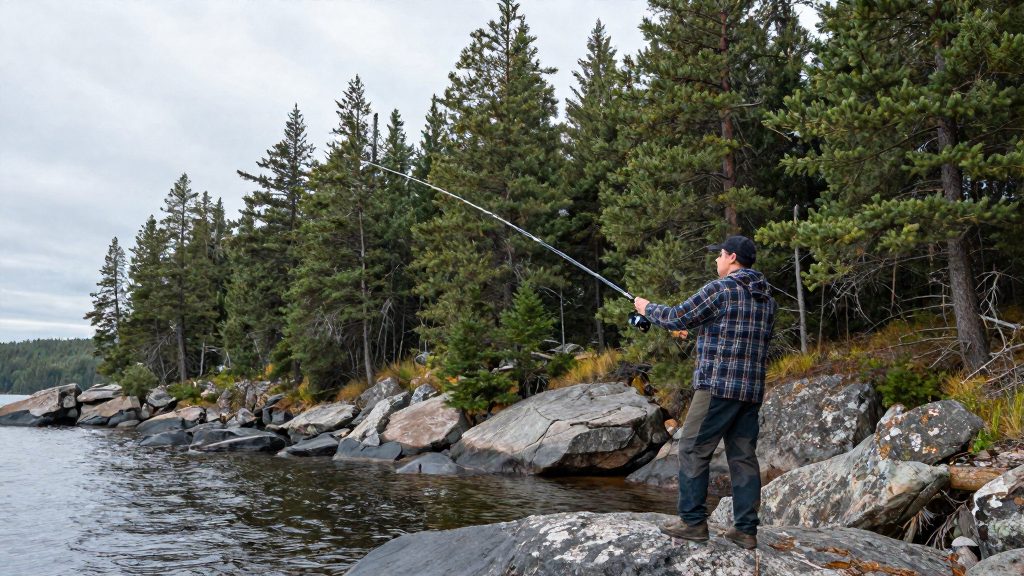
A first session with a spinning reel is the simplest way to learn to cast and fish. The method is the same whatever the lure: hold the line correctly, cast, retrieve with a deliberate action, and set the hook when a fish takes.
Making the spinning cast
- Hold the rod in your casting hand with the reel underneath it.
- Pinch the line against the rod blank with your index finger. This keeps the lure from running out.
- Open the bail (the wire arm over the spool) with your other hand.
- Bring the rod back behind your shoulder, then swing it forward.
- Release your index finger at the point of the cast. The weight of the lure pulls line off the spool.
- Close the bail and wind in once the lure lands.
Practise on open ground with the hook removed. Repeating the finger release until the lure lands where you aim is the fastest way to improve before you fish water with cover.
Lure choice and retrieve patterns
| Lure | Suited to | Where it works |
|---|---|---|
| Topwater lure | Largemouth bass | Warm, shallow, weedy water |
Retrieve speed should match the lure. A steady retrieve keeps a spoon or spinner moving at a constant pace. A jig works best with short lifts of the rod tip, pausing between them so the lure drops, which often triggers a bite. Topwater lures move across the surface, so keep the retrieve even and watch the surface for a strike.
Setting the hook on a bite
When a fish takes the lure, the line may go slack, feel heavier, or move sideways. Reel down to take up the slack, then lift the rod firmly to drive the hook home. Jerking the rod before the line is tight often pulls the lure free.
Basic knots and simple rigs
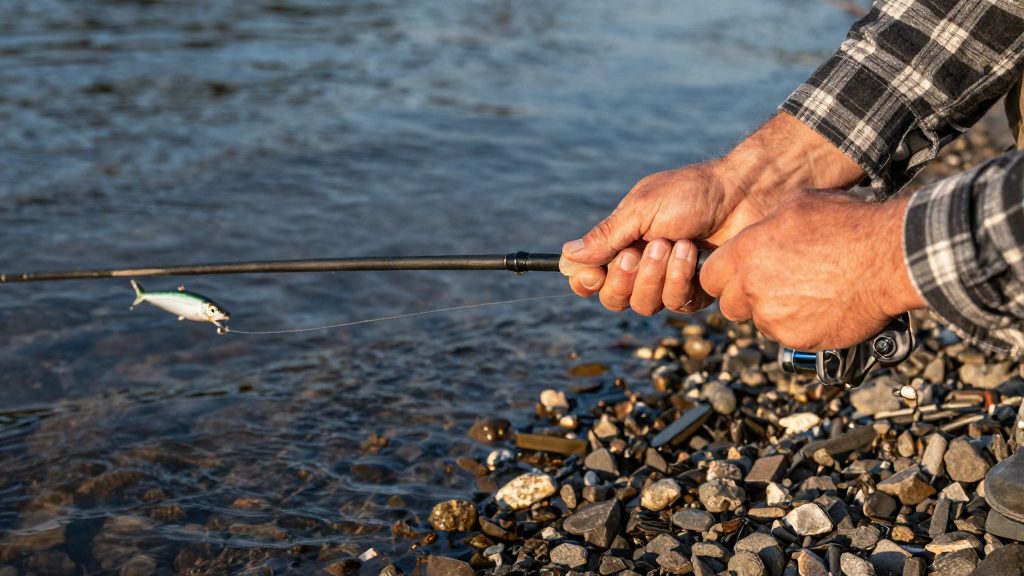
Three connections cover most beginner setups: two knots for tying line to a lure, hook or swivel (the improved clinch and the uni knot), and a slider rig for live bait. Each takes a few minutes to learn. Practise them at home with a spare length of line and an old hook or swivel before tying them on the water.
Improved clinch knot for lure attachment
The improved clinch knot attaches a line to a lure’s eye or a swivel.
- Pass the end of the line (the tag end) through the eye.
- Wrap the tag end around the standing line in several neat turns.
- Pass the tag end through the small loop next to the eye.
- Pass it through the large loop you formed in the previous step.
- Moisten the knot, then pull the standing line and tag end slowly to tighten.
- Trim the tag end close to the knot.
Uni knot for braid and monofilament
The uni knot works with both braid and monofilament, so it suits a beginner who uses either line type. It is commonly used to join line to an eye or swivel.
- Pass the line through the eye and double the tag end back alongside the standing line.
- Wrap the doubled tag end around both strands of the standing line in several turns.
- Pass the tag end through the loop formed beside the eye.
- Moisten the knot, then pull the tag end and standing line to seat the wraps.
- Slide the knot down to the eye and trim the tag end.
Braid is slippery, so add a few extra wraps when tying a uni knot to it and check the knot before casting.
Simple slider rig for live bait
A slider rig lets you change the depth at which live bait hangs without retying.
- Thread the main line through a sliding float (bobber).
- Tie a stopper knot, such as an overhand knot, above the float. Its position sets the depth.
- Tie a hook to the bottom of the line with an improved clinch knot.
- Move the stopper knot up or down to change depth.
How do you handle and release fish properly?
Catch and release comes down to a short sequence of gentle actions: keep your hands wet, avoid the fish’s most sensitive areas, play the fish efficiently, and return it to the water quickly. According to the Government of Ontario (2026), anglers should handle fish gently, wet their hands first, avoid the gills and eyes, and return the fish to the water quickly. The same guidance says to use gear strong enough to land the fish fast, so it is not overplayed. Following these steps reduces the stress and physical damage a fish takes before it swims off.
Handling the fish at the water’s edge
Work through these steps each time you release a fish:
- Wet your hands before touching the fish, and wet any landing net or mat you use.
- Hold the fish gently and support its body, keeping it in the water as much as you can.
- Keep your fingers away from the gills and eyes, which are the most delicate parts.
- Remove the hook with minimal handling. Keep the fish’s time out of the water short.
- Hold the fish until it swims away under its own power, then let it go.
Landing the fish quickly
A fish that is fought for too long becomes exhausted and is harder to revive after release. Gear that is strong enough to bring the fish in quickly helps prevent this. Once the fish is near the bank, lift it out or net it promptly rather than prolonging the fight. Playing a fish efficiently and keeping handling brief are the two main things you control during the landing itself.
Round goby must not be released
The round goby is an invasive species in Ontario, and the Government of Ontario (2026) states that round gobies must not be released. If you catch one, do not return it to the water.
Caring for your gear and tackle box
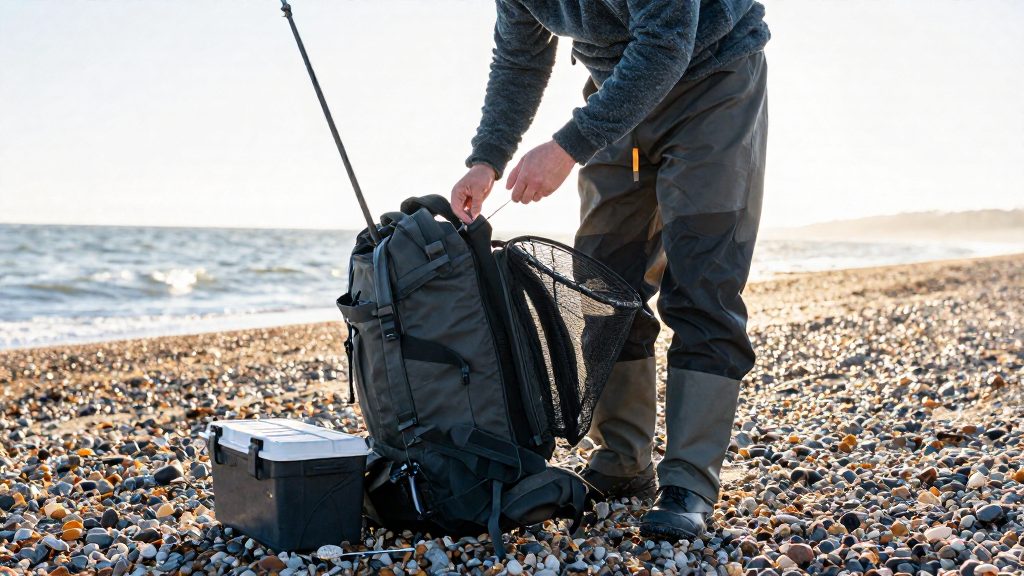
Gear lasts longer when you clean it after each session, dry it fully before storage and check the parts that wear first: the line, the hooks and the metal fittings. Grit and moisture are what you most need to remove, so a short routine after every trip prevents most of the early wear.
Rinsing and drying rods and reels after use
Rinse rods with clean fresh water to remove mud, sand and weed, then wipe them down. Wipe reels with a damp cloth. Keep water away from the inside of a reel’s body. Use a damp cloth around the spool and handle instead.
| Part | Action after use |
|---|---|
| Rod blank and guide rings | Rinse, wipe dry, look for cracks or grooves in the guide rings |
| Rod handle and reel seat | Wipe off sweat, sand and grime, which can work into the grip |
| Reel body and handle | Wipe with a damp cloth, then dry thoroughly |
| Reel spool and line | Remove weed and debris, and check the line is dry before you wind it back |
Store rods in a rod bag or on a rack, not leaning against a wall where the blank can flex or be knocked. Store reels in a dry place with the bail resting in a relaxed position.
Tackle box layout and lure organization
Sort your tackle by type rather than by size or colour. Keep hooks, split rings, swivels and weights in small compartments with lids. Keep lures in their own trays, grouped by style, such as hard-bodied lures, soft plastics, jigs and spoons. This makes it quicker to find the right item and stops hooks from snagging soft plastics.
Use a box with removable dividers so you can adjust the layout as your collection grows. Keep the box in a cool, dry place out of direct sun.
Checking line, hooks and corrosion regularly
Run the line through your fingers before each session. Feel for nicks, flat spots and fraying, especially after contact with rocks, weed or a snag. Cut off any damaged section and retie, or replace the line if the damage runs along a long stretch.
Check hooks for a sharp point and an intact barb. Replace any hook that is bent, blunt or rusted. Look at split rings, swivels and clips for rust spots, and wipe away any grime or moisture from metal parts before storing them.